
In order to install a liquid cooling system (AIO), you must select the right cooler for your CPU socket, remove your old cooling system, clean the CPU surface, and install a backplate. Then apply thermal paste, attach the cooler to the CPU, and secure it with screws or brackets. Turn on the PC, plug in the pump, fans, and RGB cables, and check the BIOS settings. Finally, monitor the temperatures and noise levels, and adjust the settings if necessary.
Are you looking to upgrade the cooling system of your CPU? Installing a liquid cooling system, also known as an All-In-One (AIO) cooler, is an effective way to keep your CPU running cool and stable during gaming and overclocking.
A liquid cooling system works by transferring heat away from your CPU via a liquid, rather than relying on traditional air-cooling methods. In this blog post, I will discuss how to install an AIO (all-in-one) liquid cooling system on your CPU in a few easy steps.
What Is An AIO Cooler?
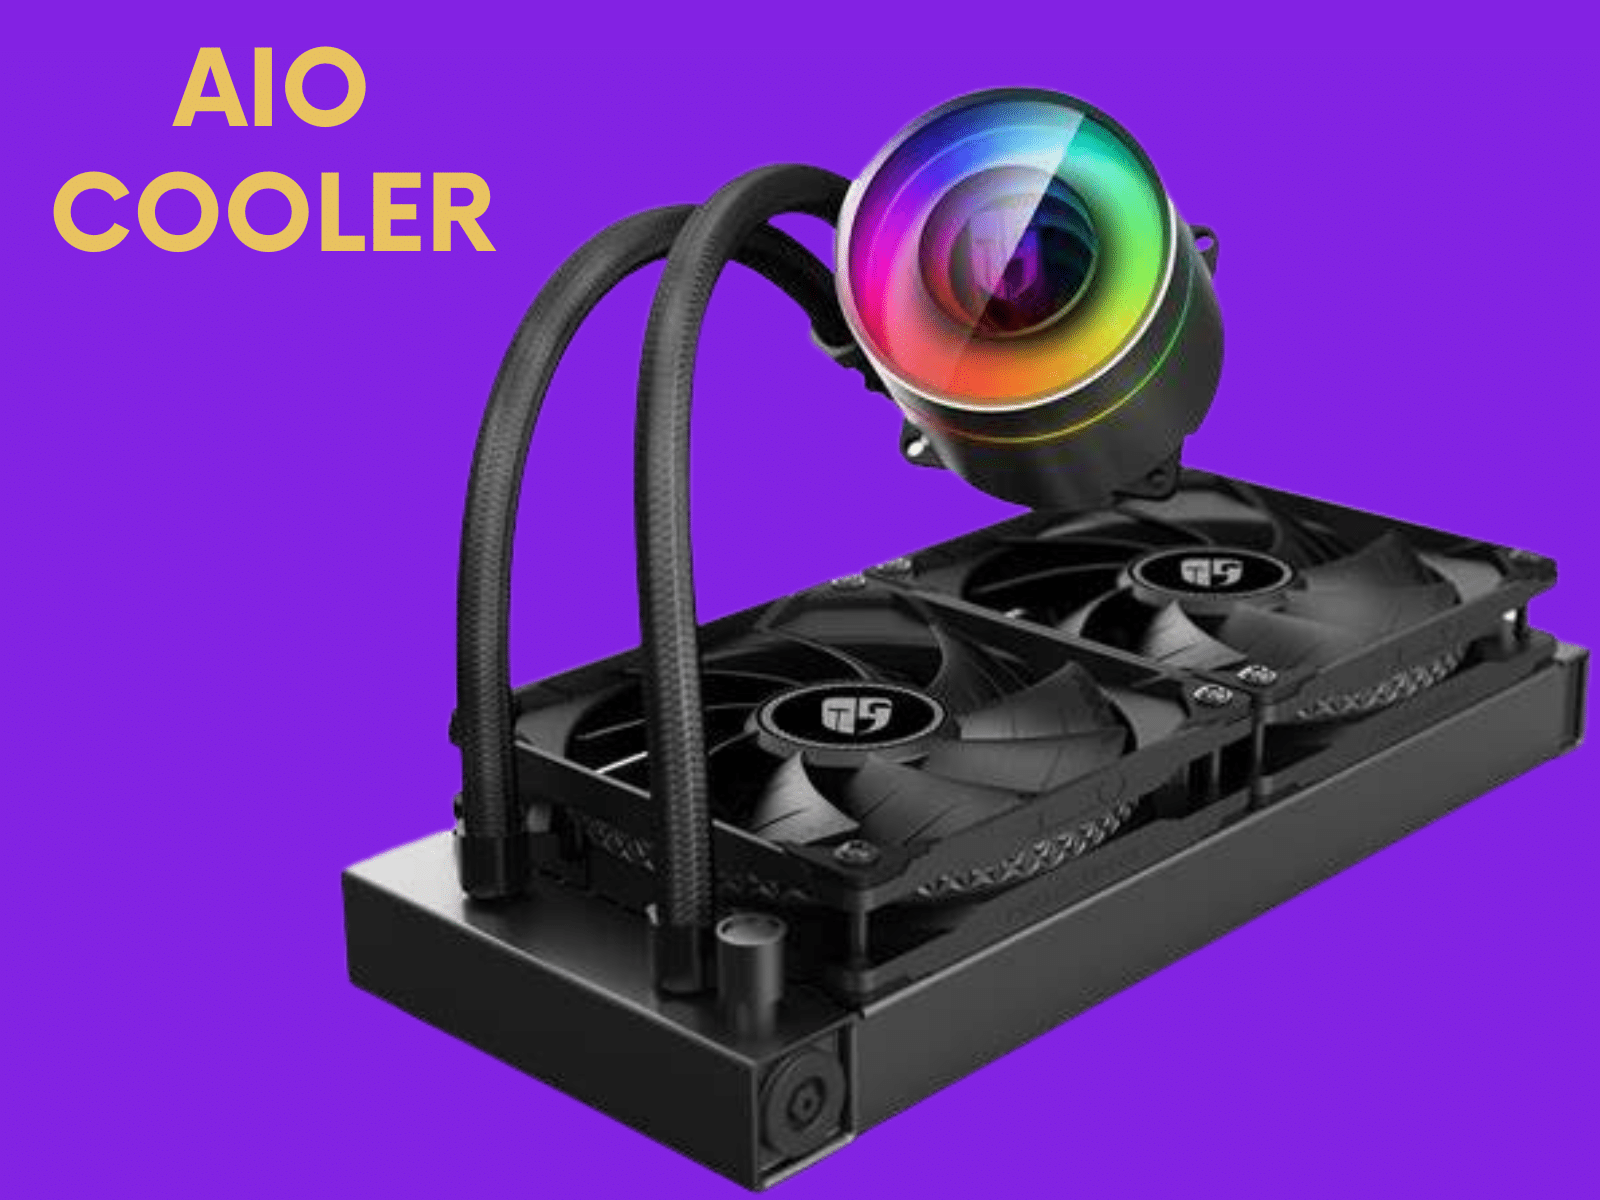
An AIO cooler is also known as an all-in-one liquid cooler. AIO coolers come with a radiator, water block, pump, and reservoir all packaged together. It’s the perfect solution for those who want to install a CPU liquid cooling in their gaming PC without having to purchase and assemble the components separately.
AIO coolers are also more compact and easier to install than traditional air coolers, so they can be mounted inside a smaller PC case.
The main purpose of an AIO cooler is to dissipate heat away from the top of the CPU, allowing it to run cooler and more efficiently. To put in an AIO cooler, you need to put in the radiator, the backplate, thermal paste, the CPU block, the pump, the reservoir, and the tubes; fill the system and let it bleed; and then test it. With careful installation and setup, you can ensure your gaming PC stays cool and runs smoothly.
Preparation to Install a Liquid Cooler On Your System
Before you start to install a water cooling system (AIO) on your CPU, there are several preparations to make.
- Start by checking the compatibility of the liquid cooler with your motherboard.
- If you have an Intel processor, ensure the liquid cooler is compatible before purchasing.
- You will also need to make sure that the radiators have the right brackets and that the cables are long enough to connect them.
- Additionally, the PC case should provide enough space to fit the radiators and water block inside.
- Before beginning the installation, you should also have thermal paste ready to apply to the top of the CPU.
- Lastly, if you want to put in an AIO liquid system, you should get rid of any air cooling system that is already there.
Once these steps have been completed, you can now begin the installation process of the AIO coolers.
How To Install A Liquid CPU Cooler? Step By Step Guide

Whether you are a PC enthusiast or just a casual user, this guide will help you find a better way to cool your CPU which is also quieter.
So let’s get started!
Step 1: Installing The Radiator
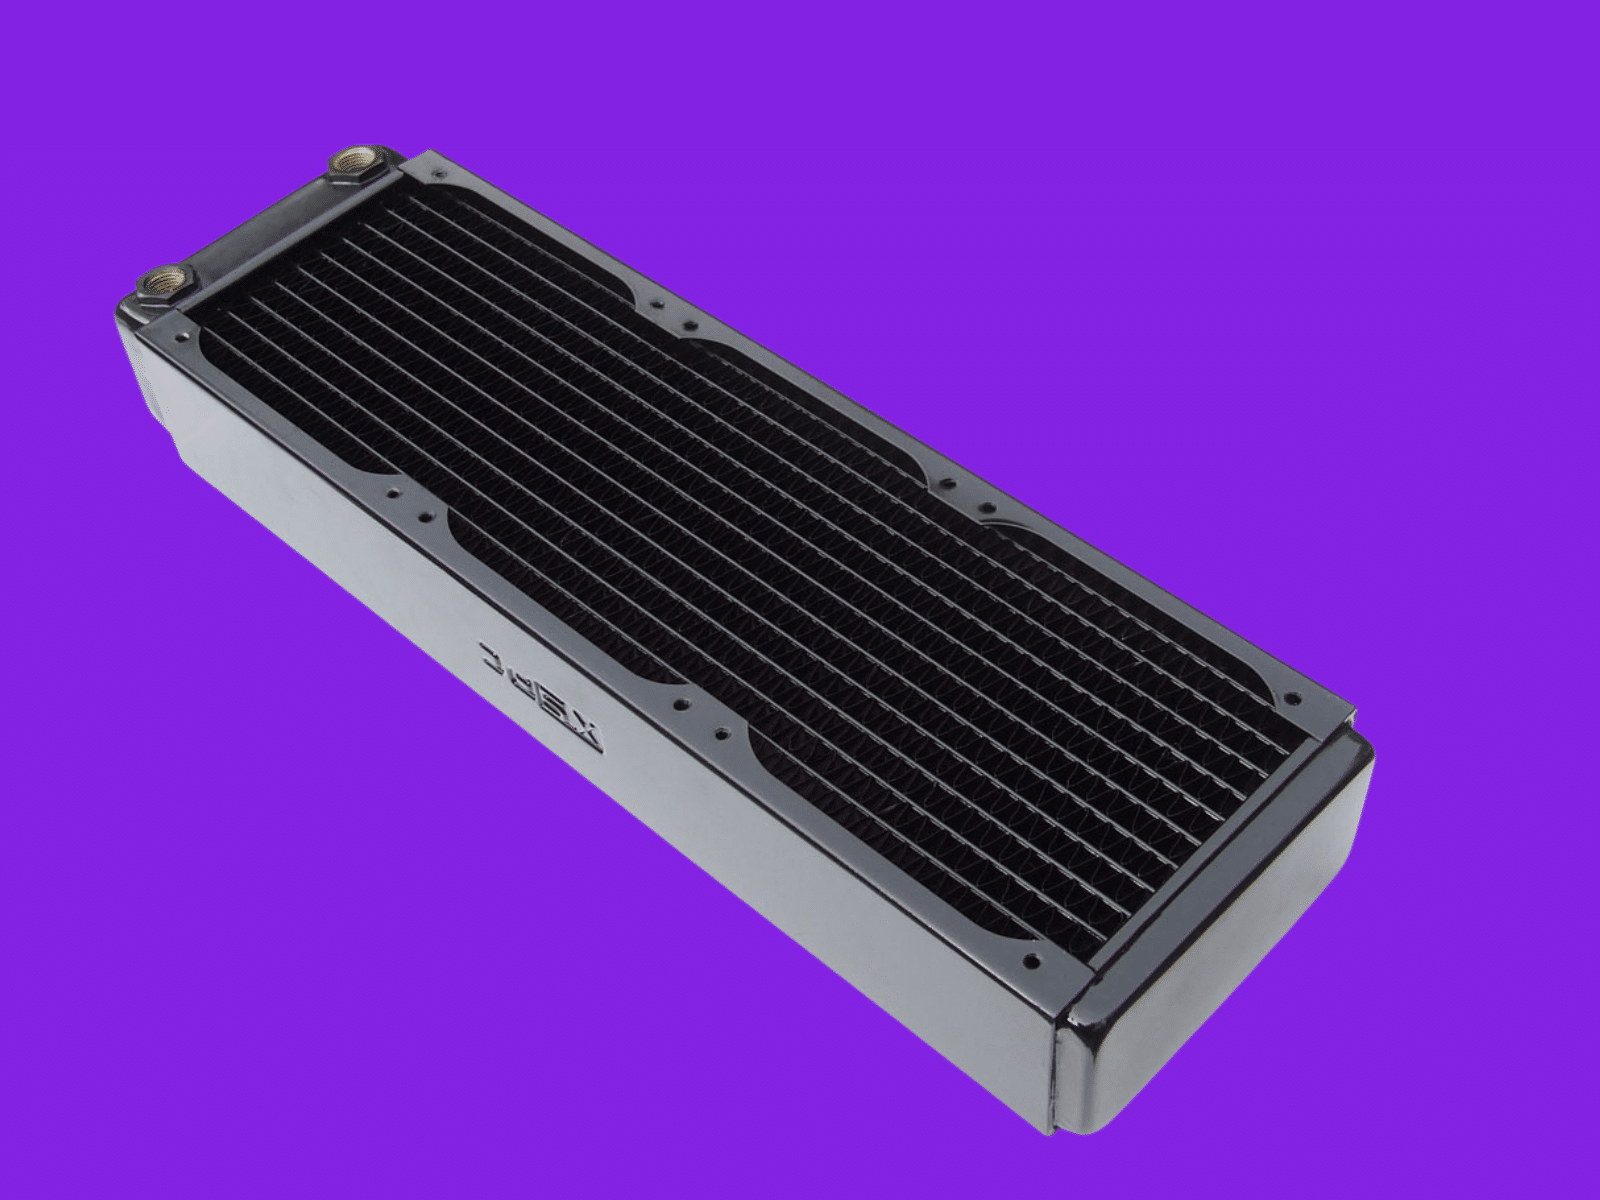
Before installing the radiator, check the manufacturer’s instructions to make sure it is compatible with your gaming PC. Once you’ve made sure the parts will work together, put the backplate on the back of the case and the water block on top of the CPU. Put a thin layer of thermal paste between the CPU and the water block to make sure heat moves well.
Next, attach the radiator to the case. Connect the liquid cooler’s pump to the backplate, and then add coolant to the radiator. Now install the fans onto the radiator. Your AIO cooler is now ready for use.
Related Reading:
Step 2: Installing The CPU Block
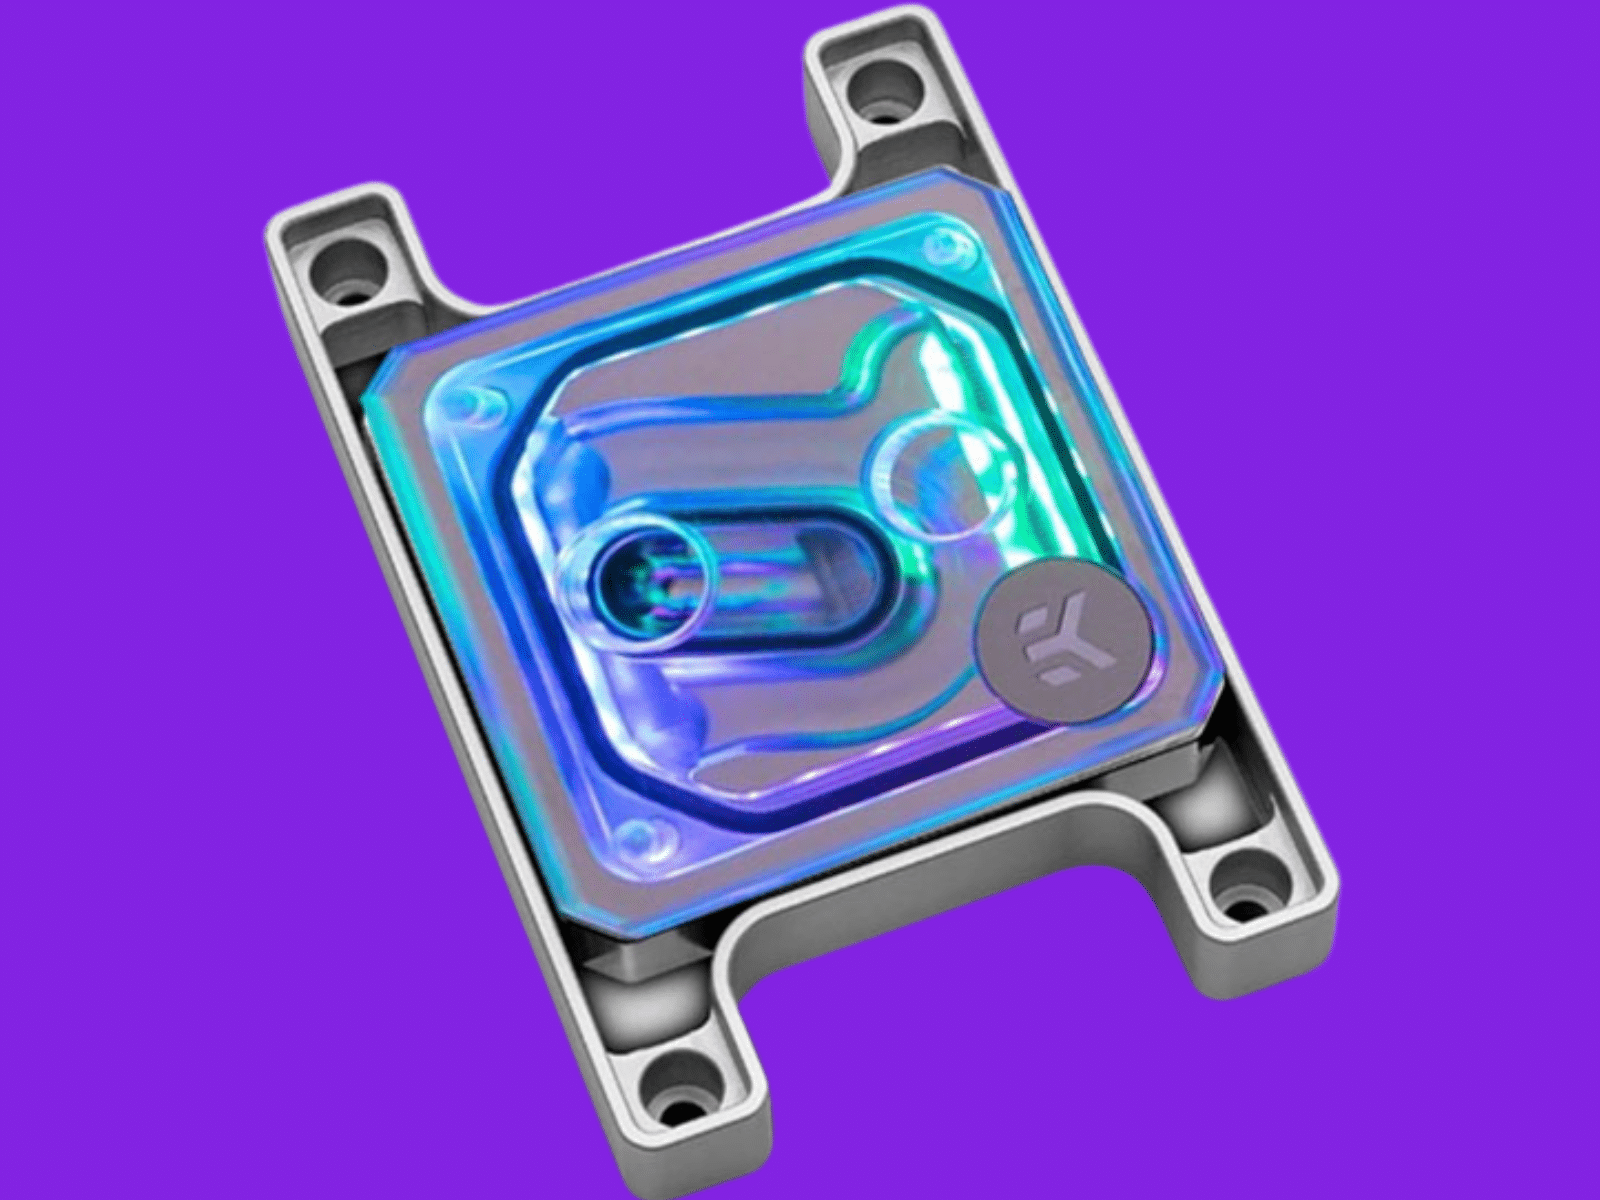
The next step to install an AIO liquid cooler is to install the CPU water block.
Follow this process to install CPU water block.
- Start by applying a thin layer of thermal paste to the top of the CPU.
- Then, put the water block on the processor and make sure it is secure and in the middle.
- Next, secure the backplate behind your PC case and use the screws to hold the water block in place.
Step 3: Installing The Pump
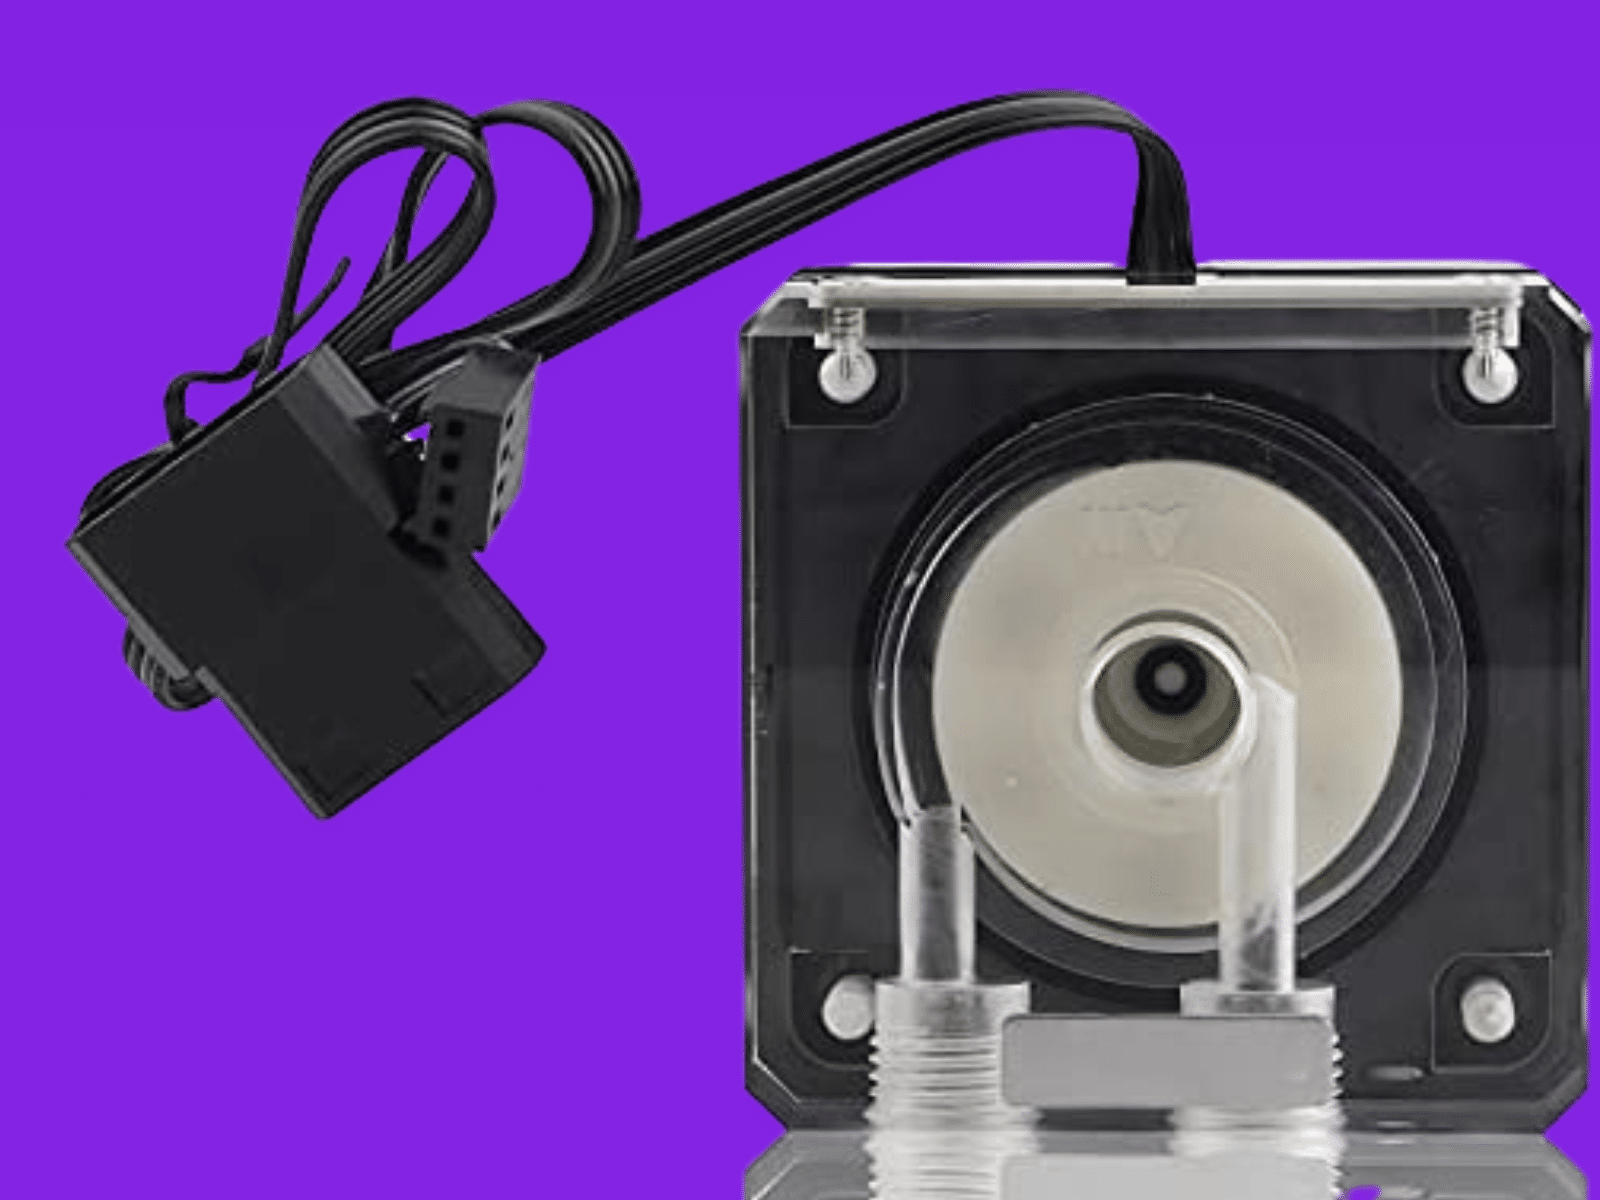
Installing the pump is the next step in putting a liquid cooler on your gaming PC. This is usually done by attaching the pump to the water block and then mounting it to the top of the AMD CPU with the provided screws.
Make sure to apply a thin layer of thermal paste before doing this. Once the pump is securely attached, you can start putting the radiator, backplate, and any other AIO cooler parts into your PC case.
Step 4: Installing The Reservoir
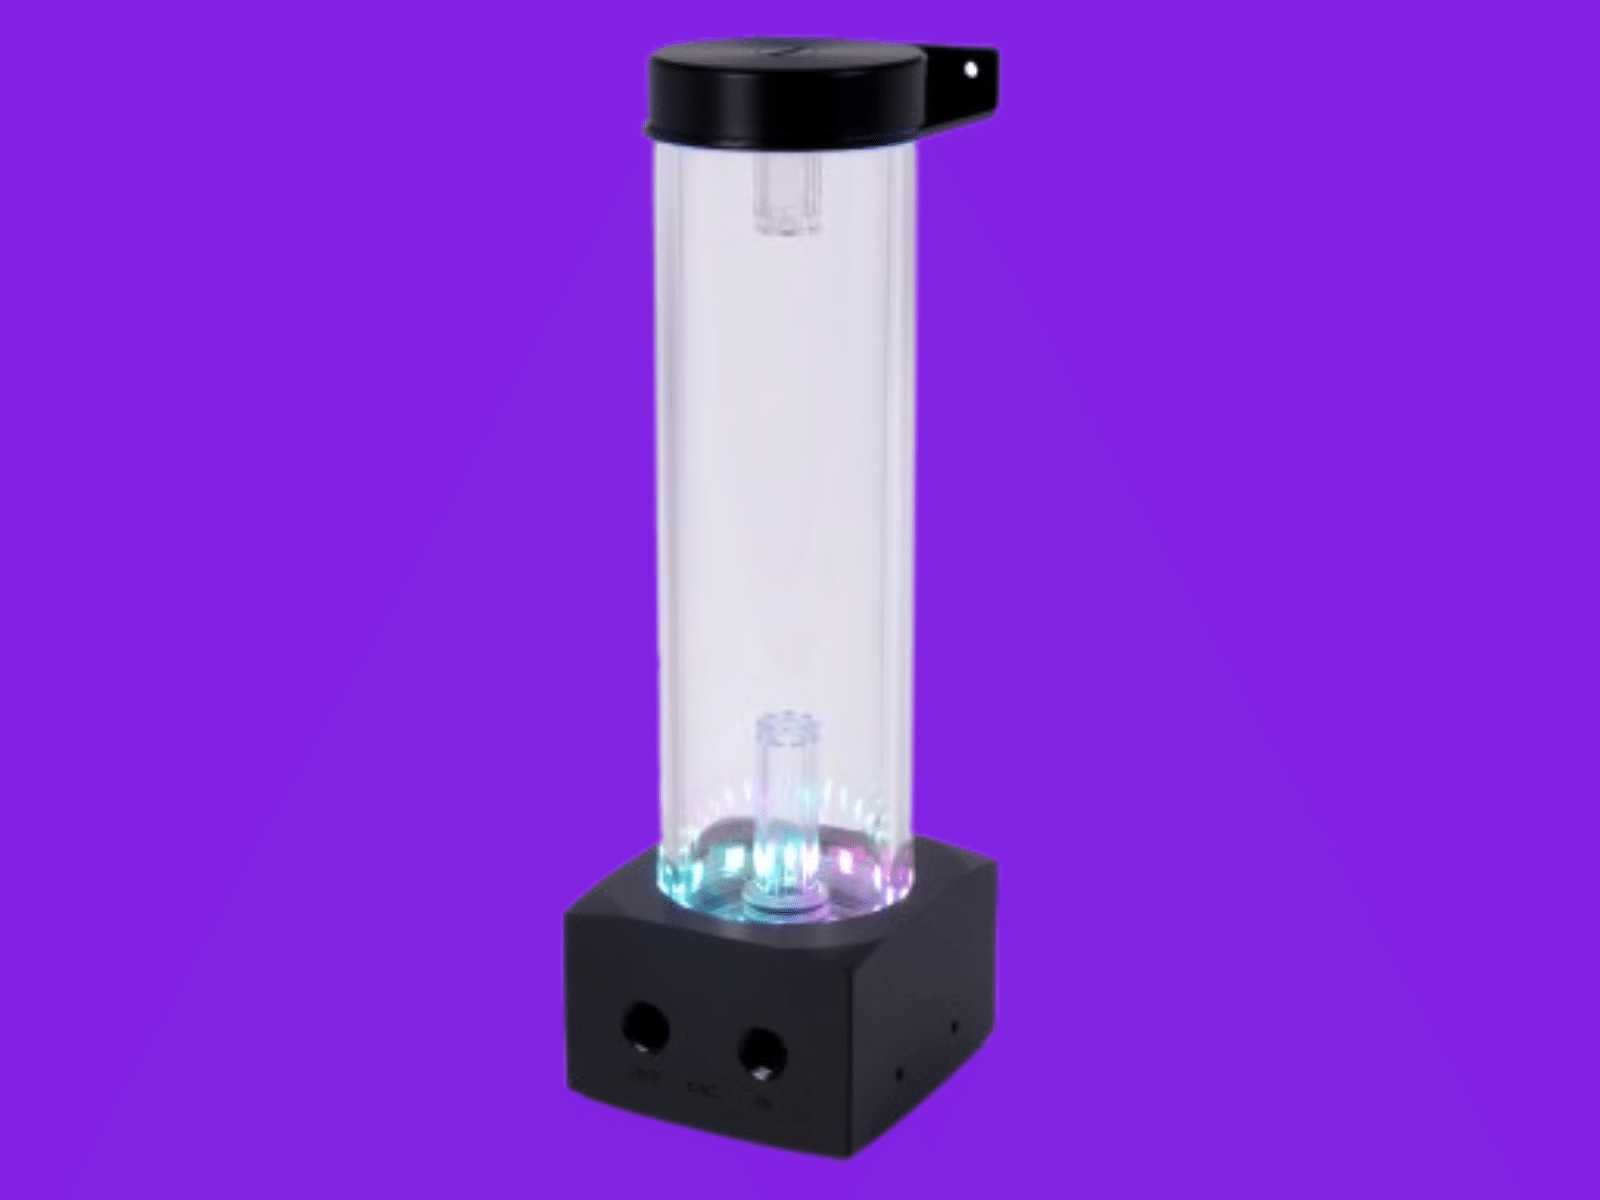
To complete the liquid cooling system, you’ll need to install the water reservoir. Position it in your PC case near the top of the CPU, then connect it to the water block with the supplied tubing.
Make sure that the reservoir is securely connected to the water block and that no air is trapped in the tubing. You may need to use thermal paste on the water block if necessary. Now that the reservoir is hooked up, you can put the radiator in place and test the liquid cooling system.
Related Reading:
Step 5: Connecting The Tubing
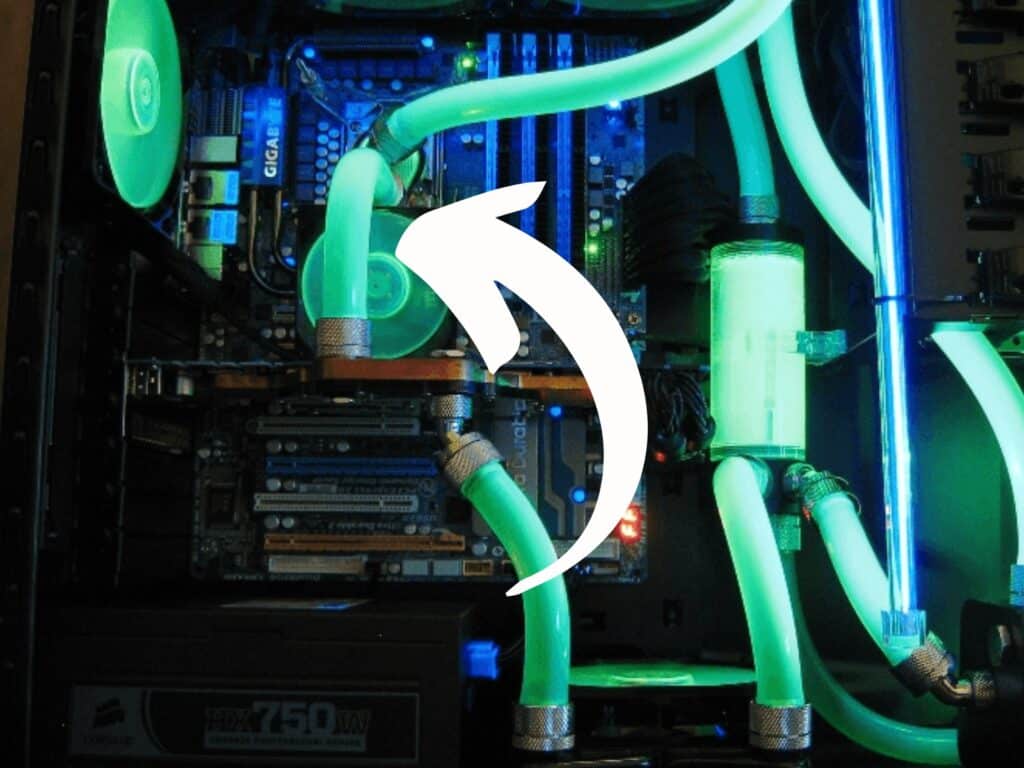
Start by attaching the tubing to the water block at the top of the CPU. Be sure to secure it and make sure there are no leaks. Next, connect the tubing to the radiator, which should be in the back of your PC case.
Now, connect the tubing to the reservoir, which is usually placed at the top of the PC case. With everything connected, your liquid cooler is ready to be filled and bled. Now you can enjoy a quieter gaming PC with improved cooling performance.
Step 6: Filling And Bleeding The System
Once you’ve installed the liquid cooler, water block, and thermal paste to the top of the CPU, it’s time to fill and bleed the system. To do this, attach a reservoir to the radiator and then fill it up with coolant.
Next, turn on your gaming PC and let the liquid cooling system run for a few minutes so that the coolant can move through the system. You may need to check for air bubbles and let out some air to ensure the system works optimally.
Once finished, you can install the backplate, mount your AIO cooler in the PC case, and enjoy your new cooled setup.
Step 7: Testing
Once your liquid cooler is installed, it’s time to ensure everything works correctly. Turn on your gaming PC and check that the water block and radiator fans are working.
Make sure that the thermal paste was put on correctly and that there is nothing on the backplate or on top of the CPU. If everything looks good, you have successfully installed an AIO cooler in your PC case!
Related Reading: