
Removing a CPU cooler or fan without damaging your motherboard can be a tricky task. Thankfully, with a few simple steps, you can safely and easily remove the CPU cooler or fan without any lasting damage.
Well, hello there, my fellow computer enthusiasts!
In this blog post, I’ll walk you through the process of removing a CPU cooler or fan from your motherboard in 5 steps. By following these steps to remove the CPU cooler, you can ensure that you don’t damage your Intel CPU or motherboard in the process.
So buckle up and get ready for some motherboard-saving, CPU-cooler-removing, thermal-paste-cleaning action!
Step 1: Unplug All Power Connections to the Computer
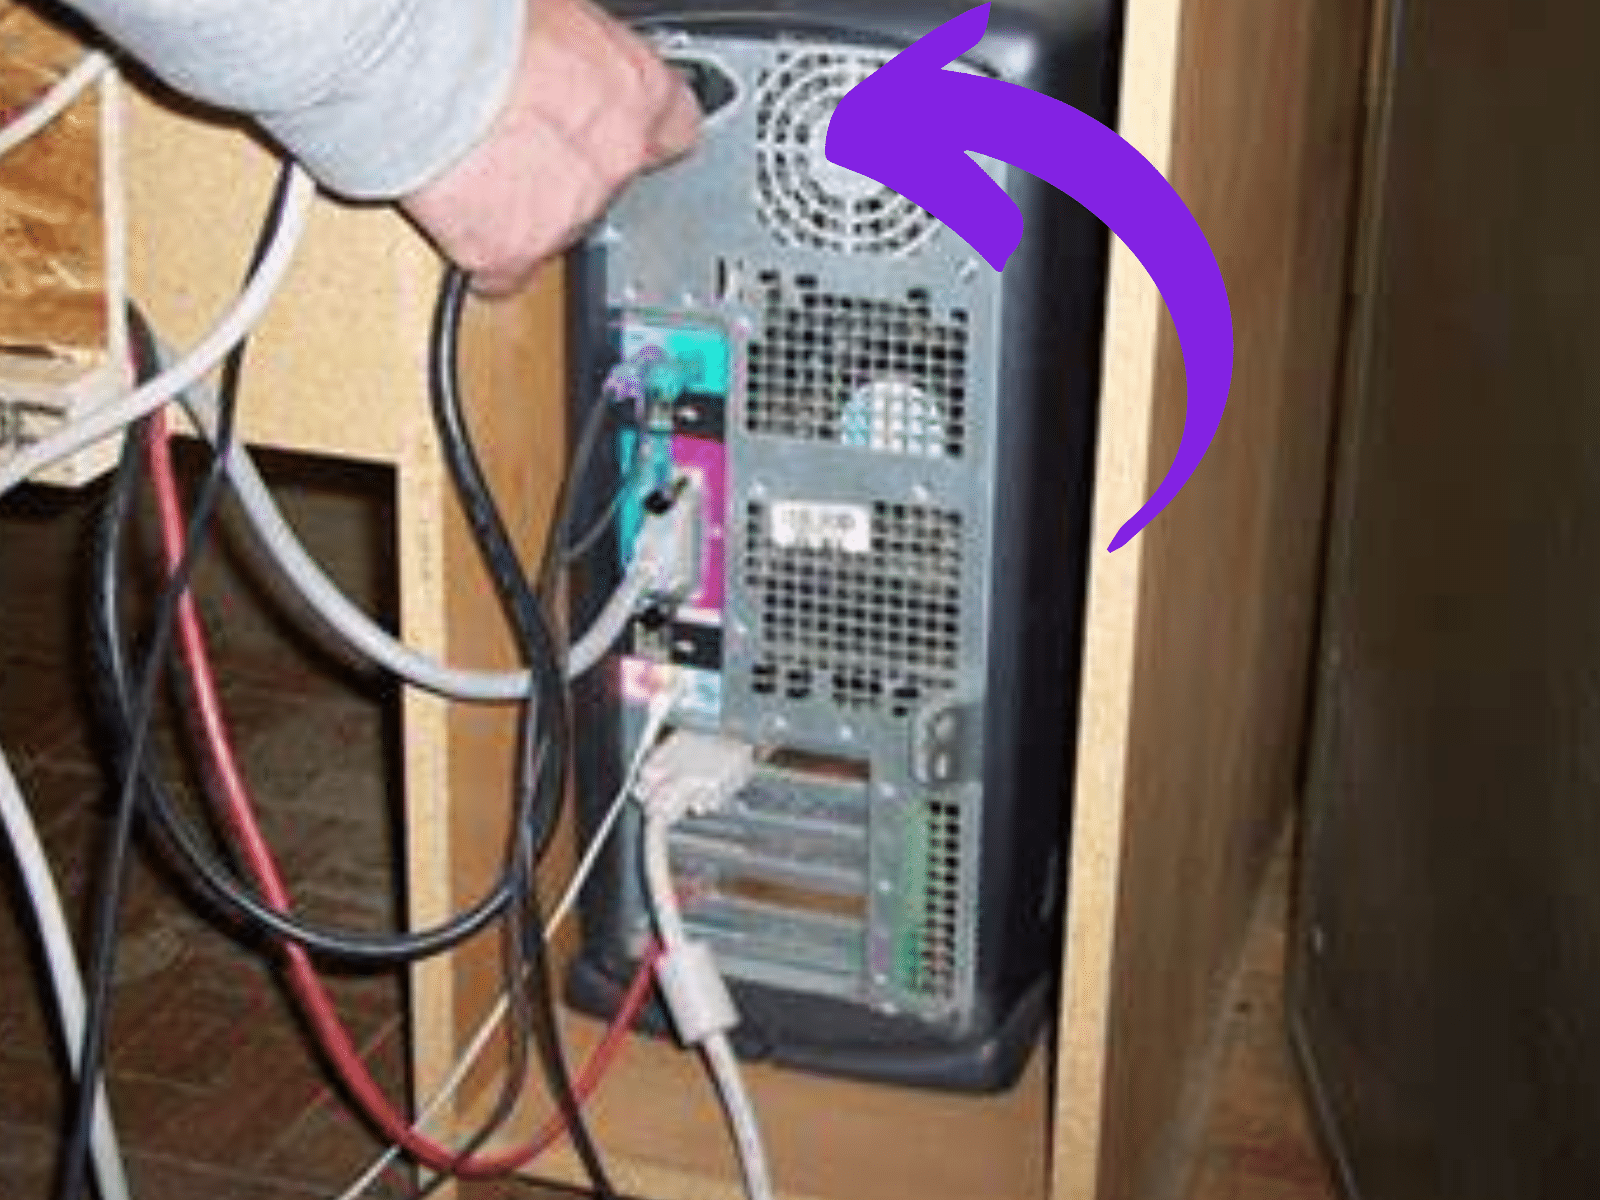
Before attempting to remove the CPU cooler, you must first unplug all power connections to the computer. This includes any AMD or Intel sockets on the motherboard and any cables that are connected to the CPU fan header.
Loosen any clips that might be holding the cooler to the motherboard with a screwdriver. Once you have loosened the clips, twist the CPU cooler gently until it is free of the socket.
If there is thermal paste on the CPU, it is best to leave it be and use new paste when installing the new cooler. Make sure that all wires are disconnected before removing the CPU cooler from the CPU.
Step 2: Disconnect Any Cables Connected to the Motherboard
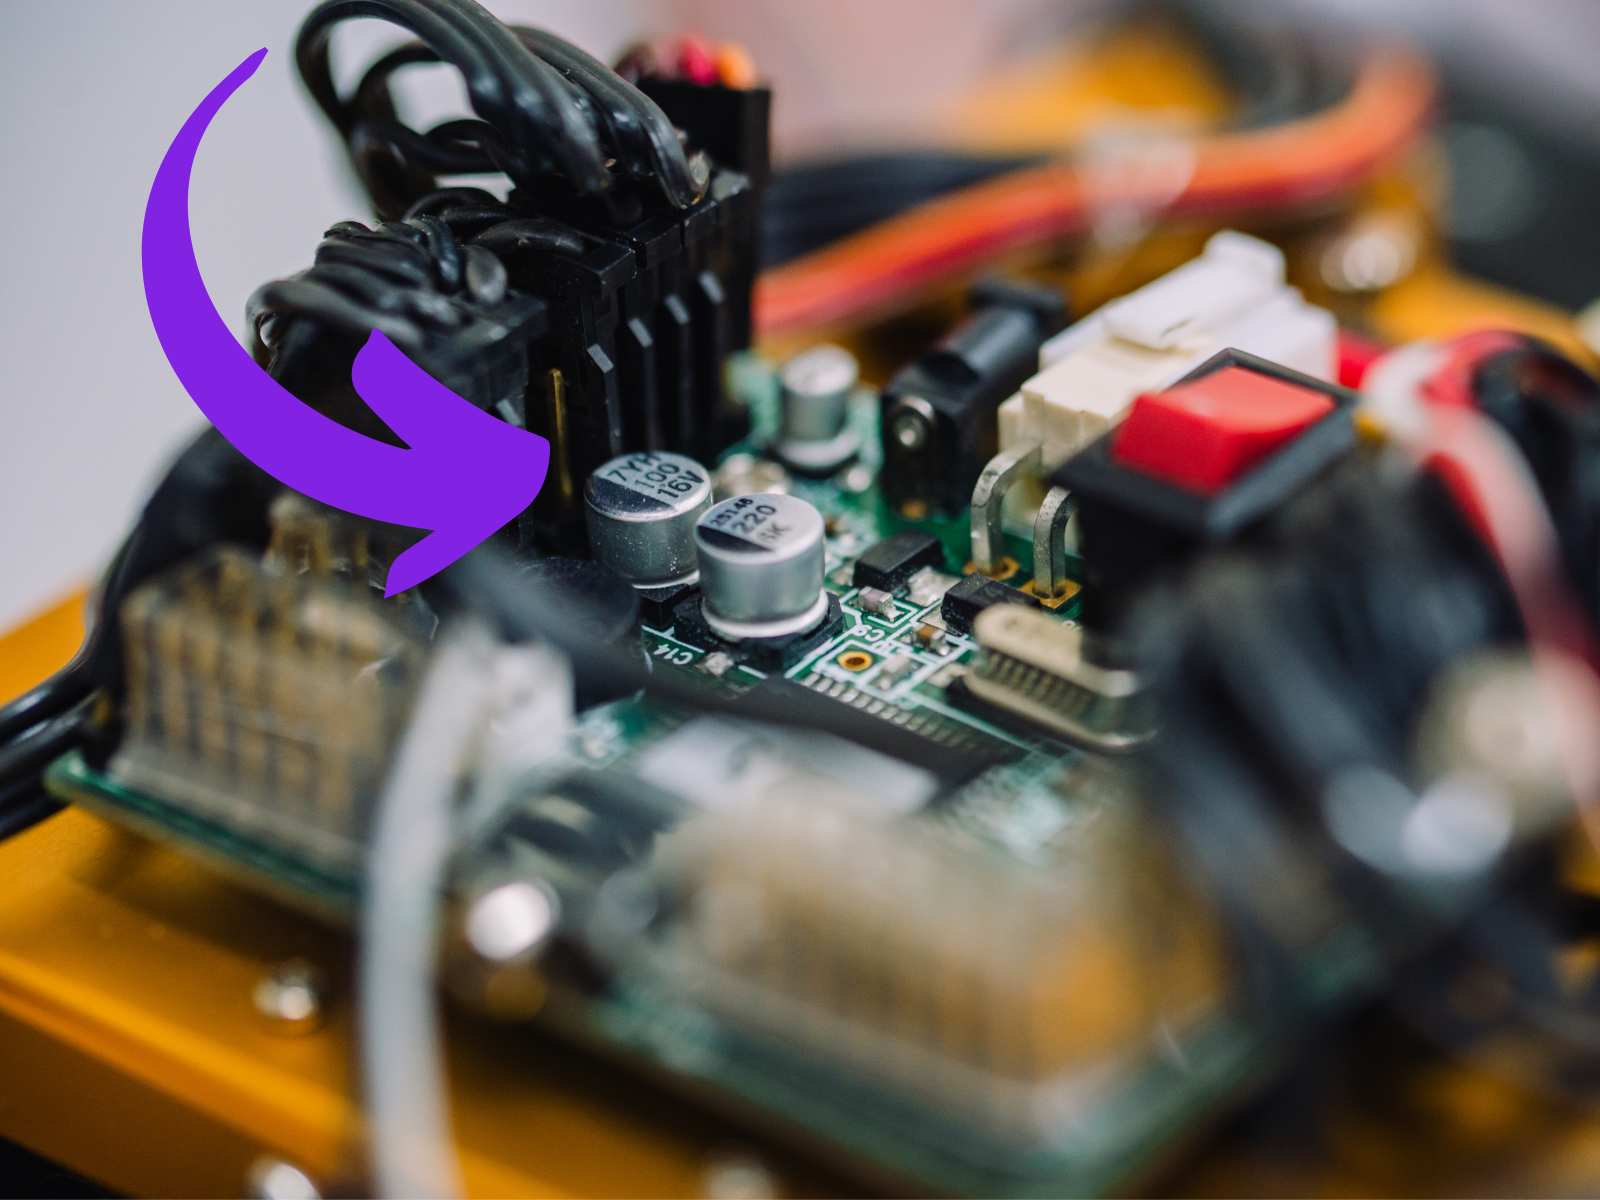
Before you try to take off the CPU cooler or fan, you must first unplug any cables that are connected to the motherboard and disconnect the fan power. This includes any heatsink or fan connectors and any other cables that may have been connected to the CPU cooler or fan.
Related Reading:
- Gpu Fans Not Spinning At Startup
- How To Check The CPU And GPU Temperature In Windows 11 Or 10?
- What is GPU Artifacting And How to Fix It?
Step 3: Remove the Screws Securing the Cooler or CPU Fan to the Motherboard
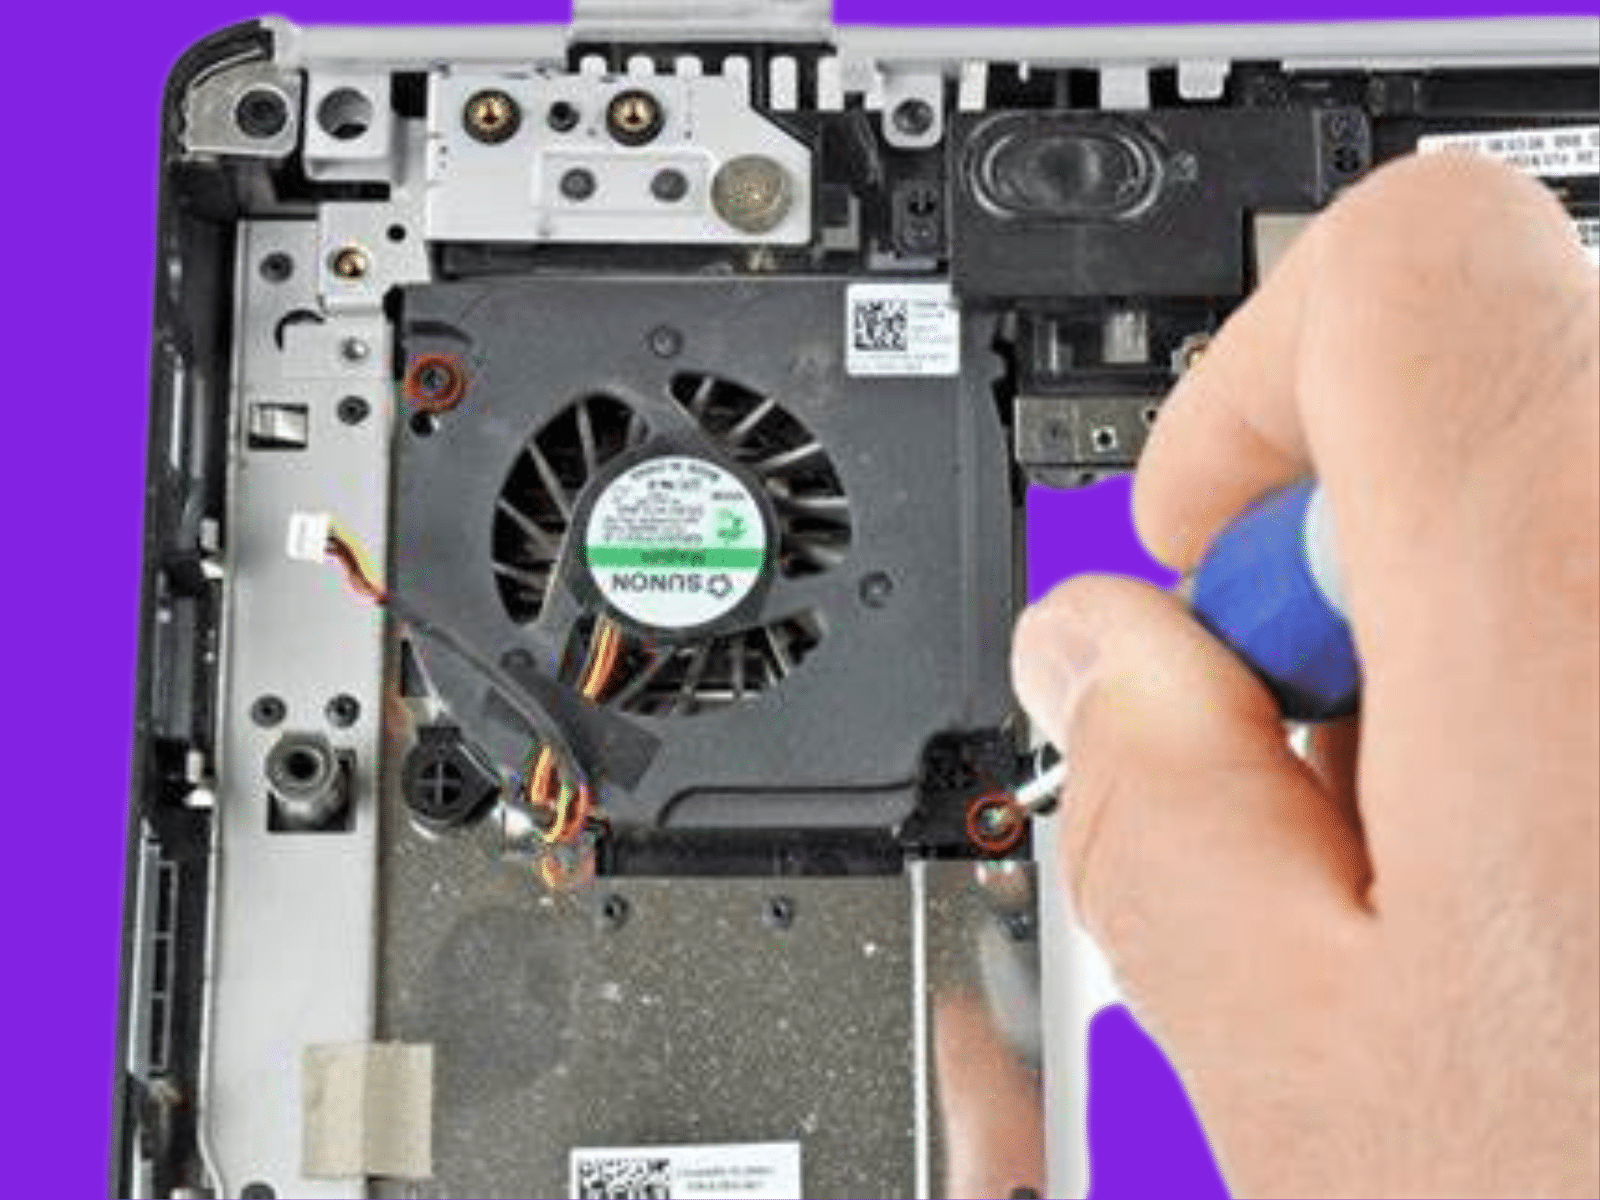
If the CPU cooler has been secured to the motherboard using screws, then you must remove them before taking off the cooler. Make sure that you unscrew each screw in a clockwise direction to avoid any accidental damage.
Step 4: Gently Lift the CPU Cooler or Fan Off of the Processor
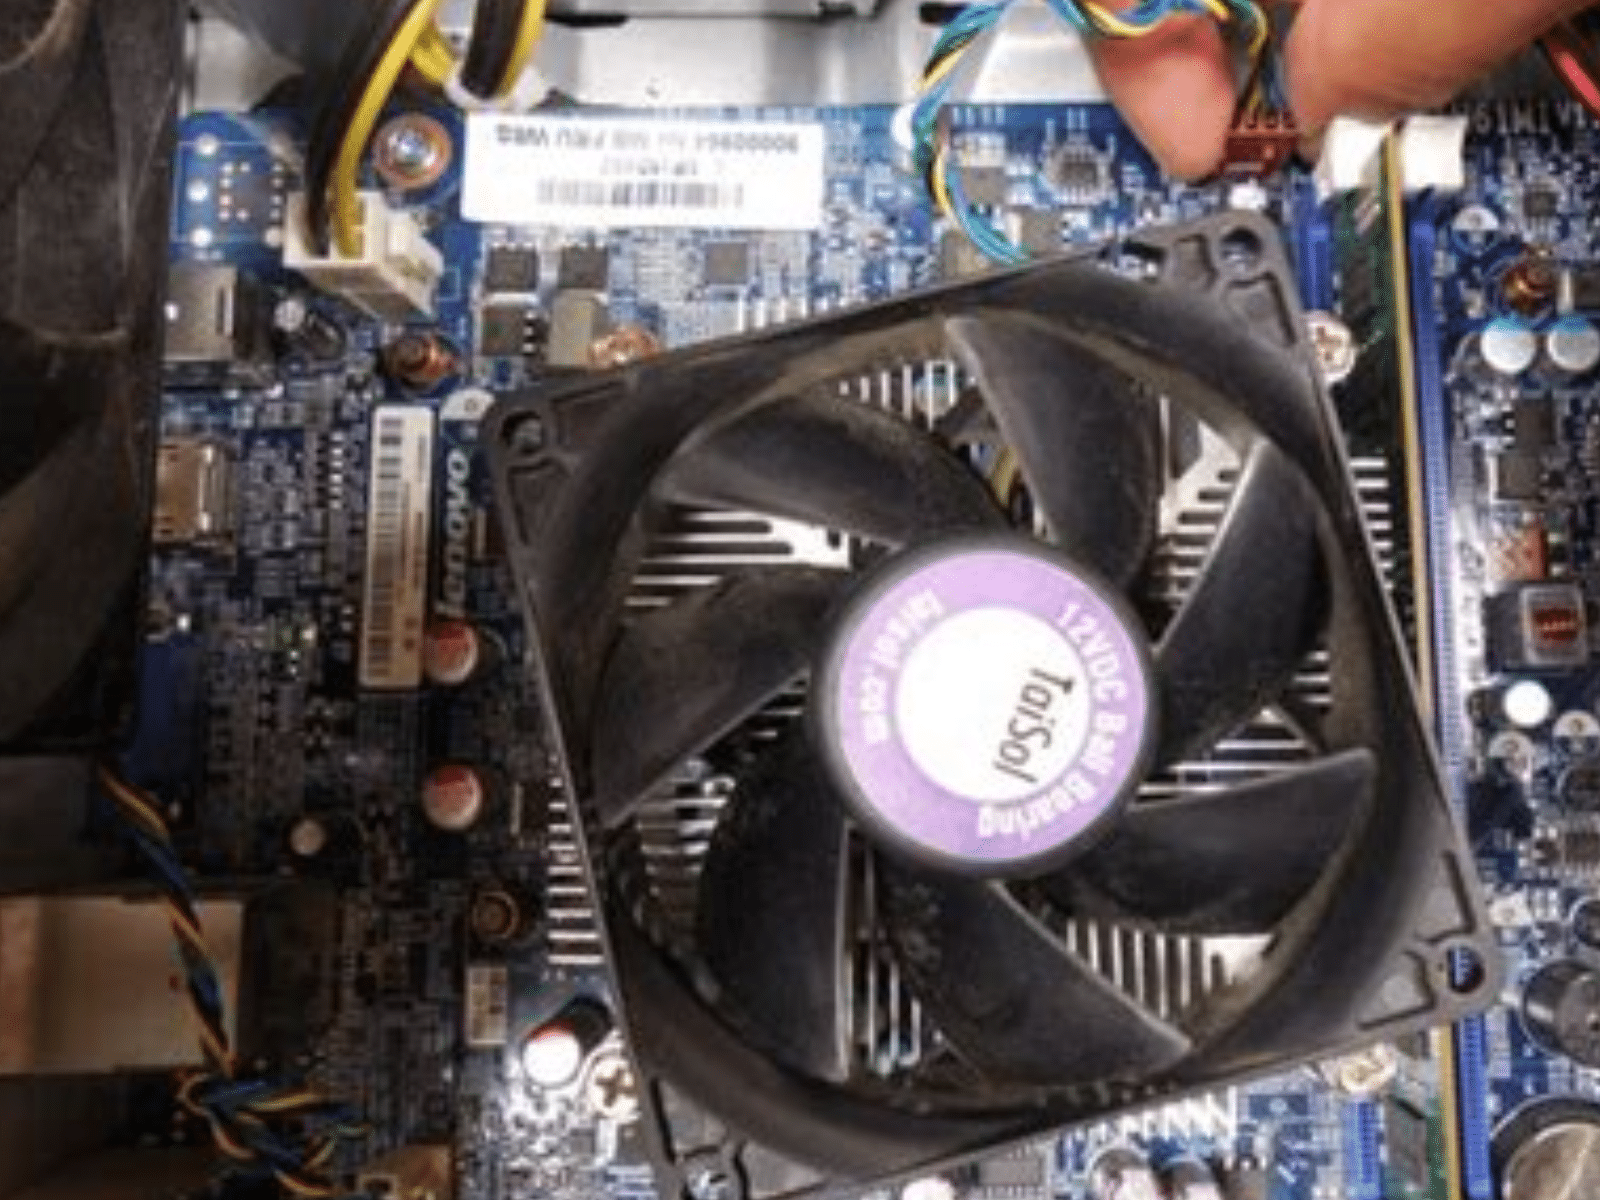
Once the screws have been removed, carefully twist the CPU cooler without damaging the CPU or other components. There may be retention clips that need to be released before you can lift the cooler back off the processor.
Make sure to remove all thermal paste residue from the surface of the processor before attempting to remove the CPU cooler from the CPU. Then, unplug the fan header from the motherboard and lift the CPU cooler off of the processor.
Be very gentle as you do this to avoid damaging the processor or any other components.
Step 5: Clean the Surface of the Processor & Reattach CPU

Before you can reattach the CPU cooler or fan, it is essential to clean the surface of the processor. Be sure to use a non-metallic tool to remove any remaining thermal paste. To prevent any damage to the CPU, twist the CPU cooler or fan away from the CPU when removing it.
Also, disconnect any retention clips or headers that are attached to the cooler before putting it down. Once you have removed the CPU cooler without damaging it, you can begin cleaning the CPU.
Make sure to use a lint-free cloth dampened with isopropyl alcohol to clean the processor surface thoroughly. After cleaning, you can reattach the CPU cooler back onto the processor.
Read More:
- 7 Personal Branding Reads the World’s Top Branding Hubs Recommend Now
- 10 Personal Branding Books That Actually Teach You What Works in 2026
Recommended CPU Coolers
Summary: Remove the CPU Cooler
It is possible to remove a CPU cooler or fan without damaging the motherboard. You can remove the screws that hold the cooler or fan to the motherboard by unplugging the power and unplugging the cables.
When you lift the cooler or fan off of the processor, make sure to be gentle and not twist the cooler.
After removing the CPU cooler, it’s important to apply the new thermal paste and reattach the retention clips to the CPU fan header when putting the cooler back. With the right care and attention, you can remove a CPU cooler without damaging your motherboard.