
To reset your graphics driver easily, you can press Windows Key + Shift+Ctrl+B all at once (keyboard shortcut), and it will sound like a beep. It flashes quickly on the screen when you do this, indicating that they’ve been reset.

When your computer has trouble running the programs you need it to, it can be infuriating trying to figure out exactly what the problem is.
It’s easy to assume the worst (What if I have to buy new hardware?), but before you head down that expensive road, make sure you don’t have an easier solution at hand!
Sometimes, simply resetting your graphic card drivers can fix any issues with your software and get things working again as they should be.
You must have up-to-date drivers installed on your PC, but sometimes even the latest display driver versions can cause problems, which is why you need to know the way to reset your graphic card drivers and get back to a working state if something goes wrong.
Here’s how to do just that!
How to Reset Graphics Driver (A Step by Step Guide)
If you are experiencing graphics-related issues such as screen flickering, graphics glitches, or poor performance, resetting your Graphics Driver can often solve the problem.
Resetting your Graphics Driver can restore it to its default settings, resolving any issues that may have arisen due to a configuration error or corrupted driver.
In this section, I will provide a step-by-step guide on how to reset graphics cards driver, ensuring that your GPU is functioning correctly and delivering optimal graphics performance.
Step 1: Identify Your Graphic Card Model To Reset Graphic Driver
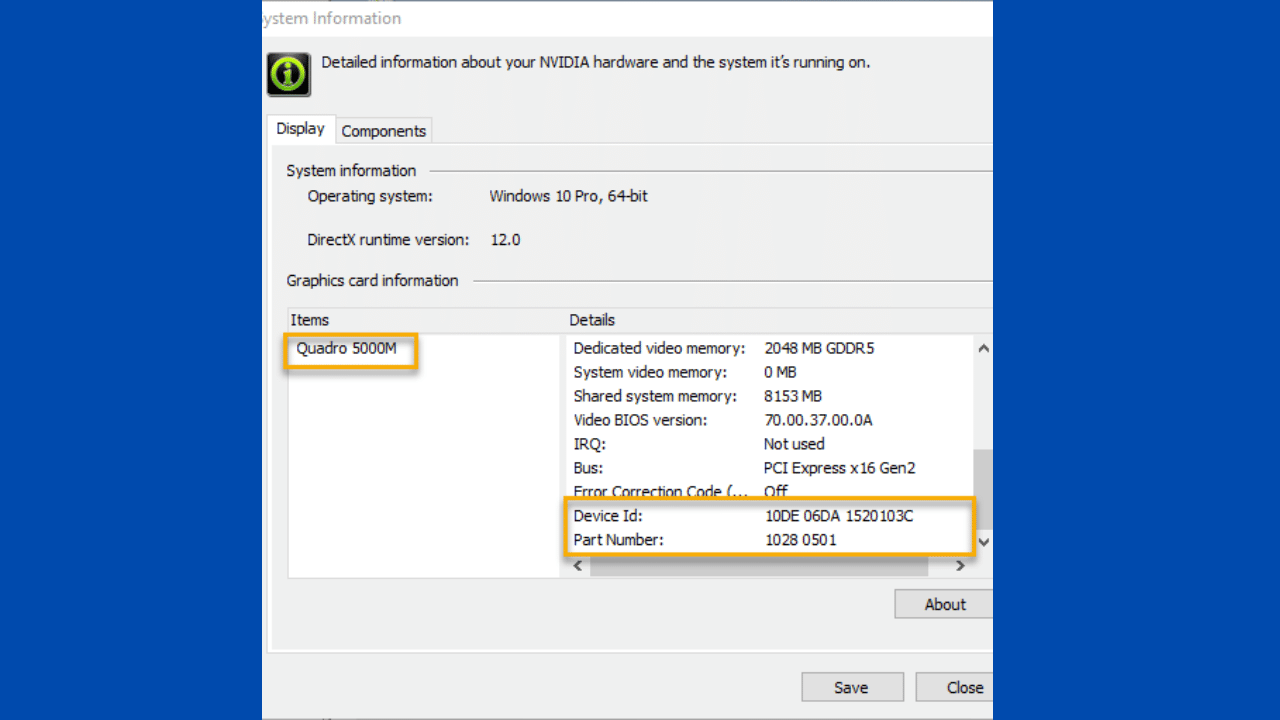
This will be a little different depending on what type of card you have. But the first thing you need to do is find out what kind of graphics card your computer has.
You can usually see this on the sticker on the side of your computer’s case. If you’re not sure, just pop open the System window by typing System into the search bar and then click System Preferences in windows 10.
There should be a tab for Hardware. If there are two tabs for hardware and if one says something like Display, then that means that you’re running an Intel card.
If it says something like Storage, then that means that you’re running an Nvidia card. You can check it in the Nvidia control panel separately.
Related Reading
- How To Update AMD Drivers?
- Will Graphic Card Work Without Drivers?
- What is Gpu artifcating and how to fix it?
Step 2: Download The Latest Drivers From The Manufacturer’s Website
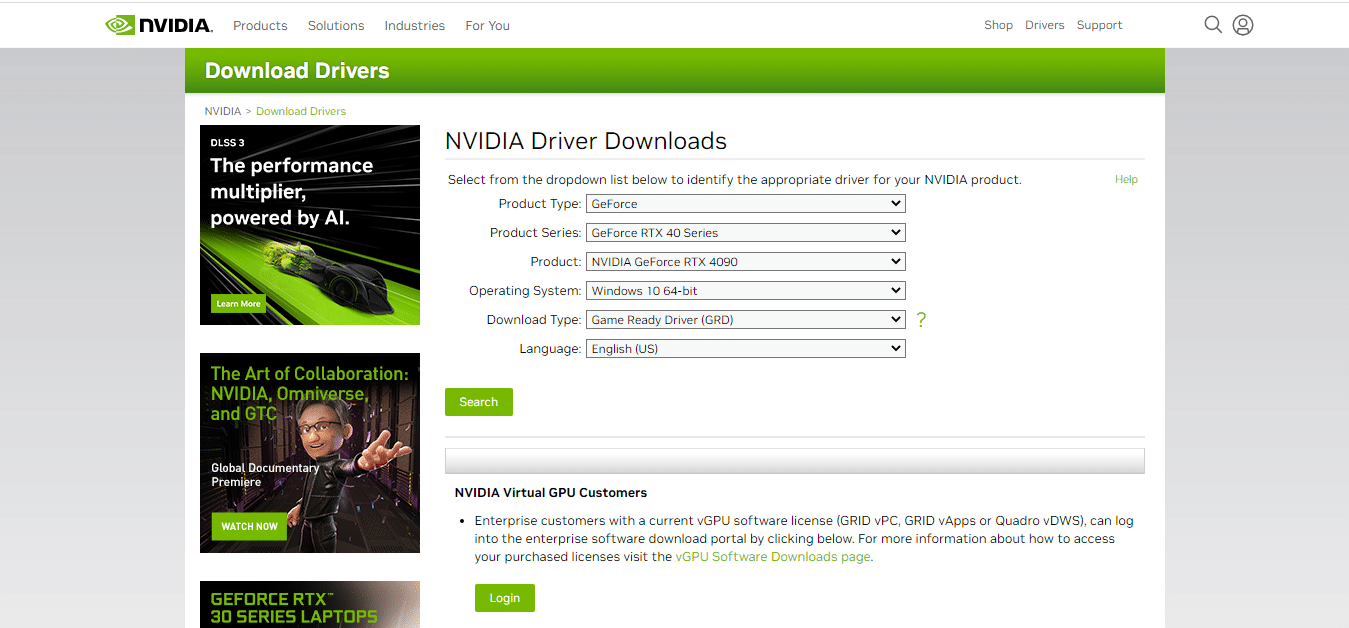
This is the second step. Downloading the latest gpu drivers from the manufacturer’s website. Once you have finished downloading the driver, proceed to step three.
You can download your driver software by following these simple steps:
- Click on Start and then Run.
- Type devmgmt.msc and click OK.
- The Device Manager will open up and you should see a list of all your hardware devices with either Standard or Expert tabs next to them.
Step 3: Uninstall The Current Drivers To Reset Graphics Card
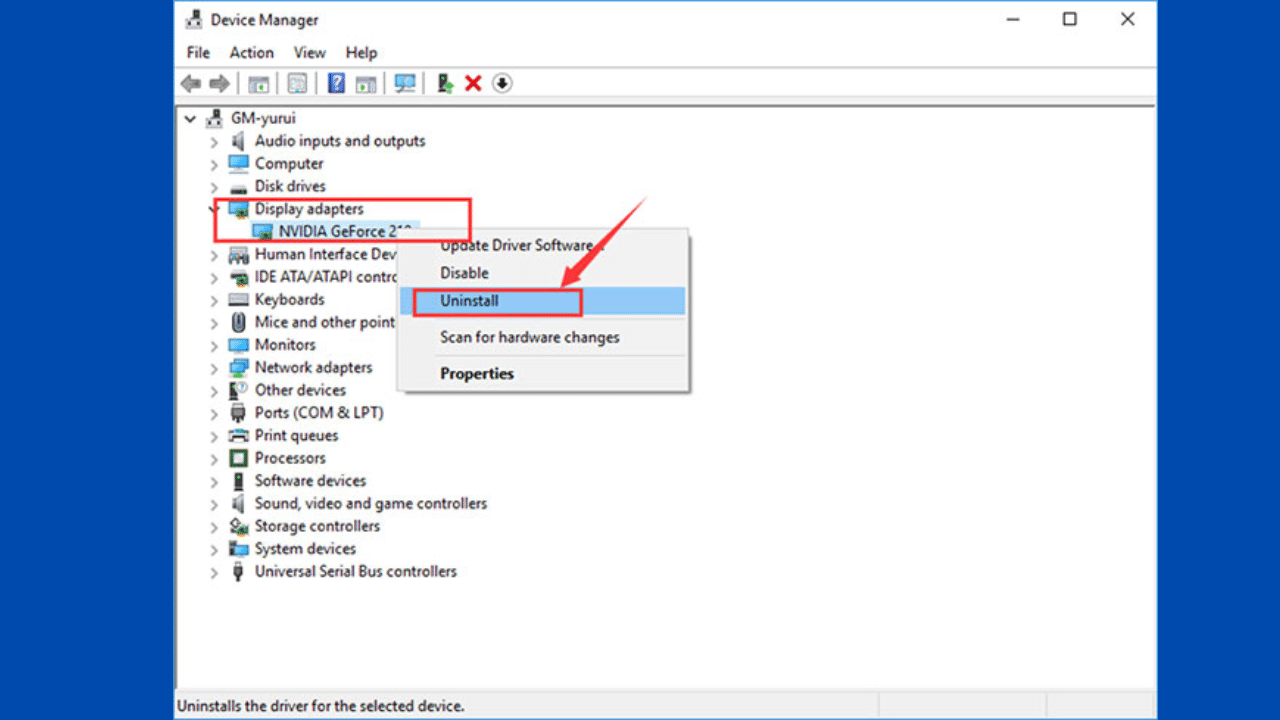
Step three is uninstalling the current graphic drivers. Follow the steps below, but be sure you follow these instructions exactly:
- Open Control Panel and click Uninstall a program
- Scroll through the list of programs until you find your graphics card driver, then click it. The driver’s name should be pretty self-explanatory.
- Click Uninstall
Step 4: Install The New Drivers
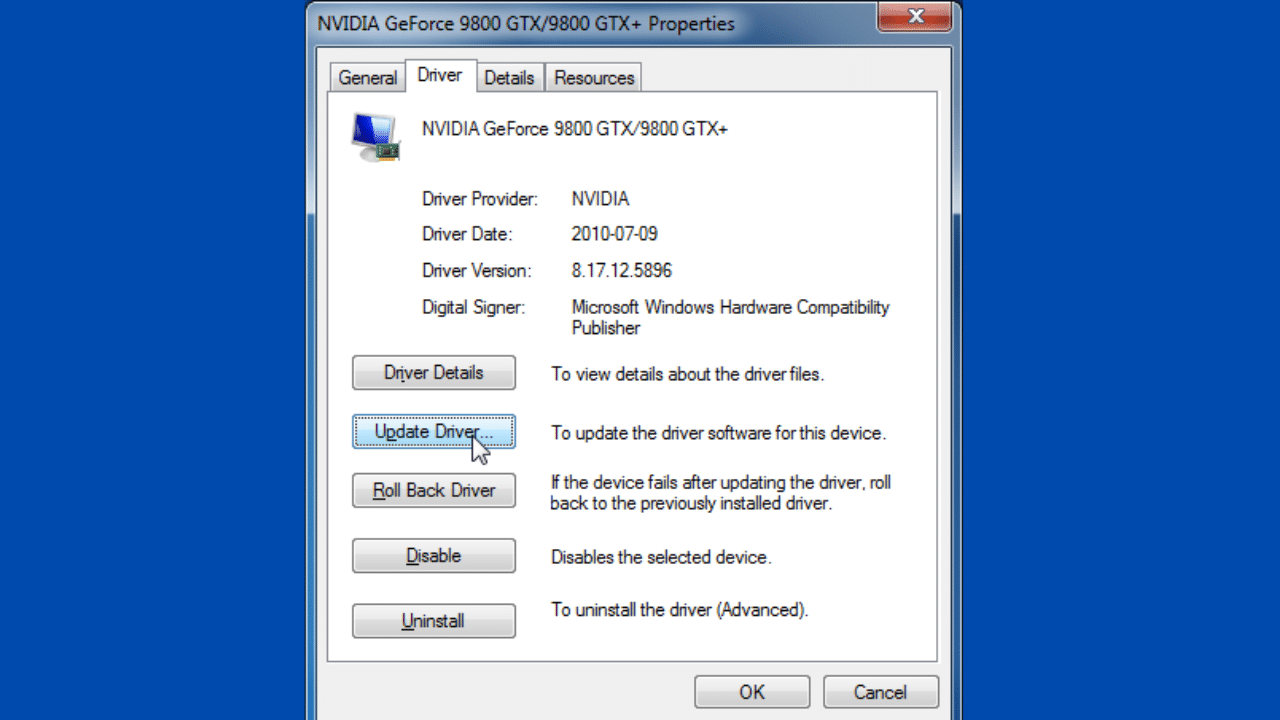
Installing a driver is as simple as locating the driver on your computer, double-clicking it, and following the prompts.
Please note that you will need administrator privileges on your machine before proceeding with the installation.
If you have any problems with the installation process, please refer to your hardware manufacturer’s website for help or contact them directly.
Step 5: Restart Your Computer

Restarting your computer is the second last step and one that you should do before moving on to the next step.
Simply shut down your computer, turn it back on again, and if prompted select Yes or OK when asked if you would like to start up in Safe Mode.
Once booted into Windows in safe mode, open the Start menu then click Control Panel > System and Security > Administrative Tools > System Configuration Utility.
Then click on the Boot tab followed by Boot Options > Edit Boot Options for (computer name) > set timeout to 10 seconds then press Apply followed by OK. The final step is to exit all menus without restarting your PC.
Related Reading: How To Update Graphic Card Driver In Windows?
Step 6: Final Step Is To Test The New Graphics Driver Manually
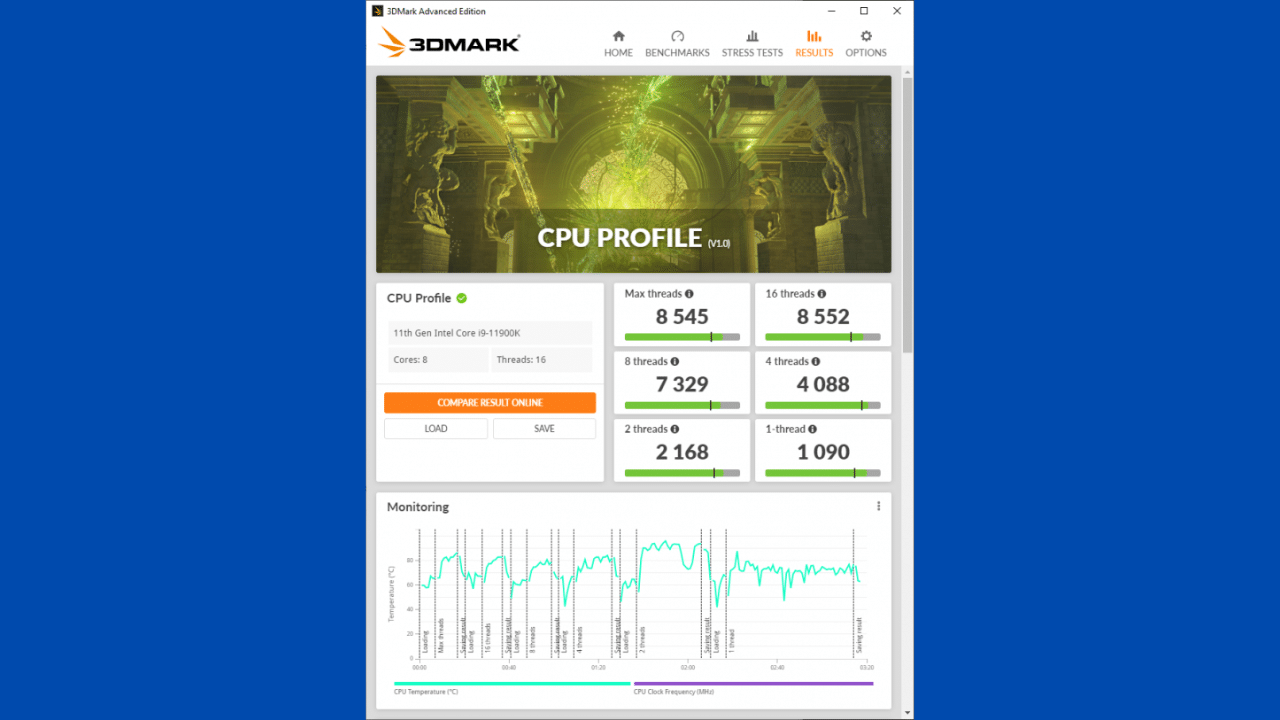
You can do this by running a quick test, such as a 3DMark run. Simply open up the program and click on Run Benchmark.
After the benchmark is complete, you should see your new graphics card’s performance. If everything looks good, then congratulations!
You have successfully reset your drivers and are ready to enjoy your favorite games at their full potential.
If there are still problems or errors with the new drivers, then it may be time to contact the graphics card manufacturer for further assistance.
Related Reading:
- 7 Personal Branding Reads the World’s Top Branding Hubs Recommend Now
- 10 Personal Branding Books That Actually Teach You What Works in 2026
- 11 Personal Branding Agencies in Amsterdam People Recommend in 2026
Conclusion – How to Reset Your Graphics Driver?
This is a guide for an easy way to reset your graphic card drivers and should be your first step if you are experiencing any graphic card-related issues.
Following the above 6 steps will help ensure that the problem is not with your drivers, but rather something else on your computer.
After doing this, then try running games or benchmarks again to see if the problem persists.
If it does persist, then it’s likely an issue with your hardware (such as overclocking) and you’ll need to troubleshoot accordingly.