
To remove thermal paste from CPU, open the CPU cooler and carefully pull the heatsink out. Remove the thermal paste with the help of Microfiber cloth and cotton swabs. Reapply the thermal paste and place the heatsink on top.
Are you experiencing lower performance on your system than usual? Is it overheating on a regular basis? Chances are that your thermal paste has dried off, and it’s time to get rid of the old one and apply the new one.
Today, we are going to give you a step-by-step guide on how to clean thermal paste off CPU and replace it with the new one. So without dragging any further, let’s get into it.
What Is A Thermal Paste?
In simple terms, a thermal paste is a substance that helps keep CPU cool and prevents overheating. The heat sink compound or thermal paste is therefore applied between the CPU heat spreader and the copper sink to ensure an efficient transfer of heat all over the place.
What You’ll Need:
To know how to clean thermal paste off CPU, it’s important to keep the following things available to ease the process:
- Isopropyl Alcohol:
When it comes to removing the thermal paste, alcohol works great in any condition. It helps you to clean the surface without leaving any residue. I’d recommend you to use alcohol that is at least 90% or higher.
- Microfiber Cloth:
Microfiber cloth act as a thermal paste remover and helps to pull every tiniest bit of dirt from the surface.
- Cotton Swabs:
Cotton swabs come in handy and used with alcohol to remove any debris on the edges that are hard to get rid of.
- Thermal Paste:
Last but not least, you are going to need one of the best thermal paste that lasts longer and gives complete protection against heat. But, if you are looking for a higher thermal conductivity, it’s best to use liquid metal thermal paste.
Important Precautionary Measures To Take:
The following are the precautionary measure that you should take before cleaning thermal paste off CPU:
- Disconnect your CPU with any cables to prevent any possibility of electrostatic discharge.
- Use gloves while applying thermal paste to avoid any contact with the skin.
How to Remove Thermal Paste from CPU
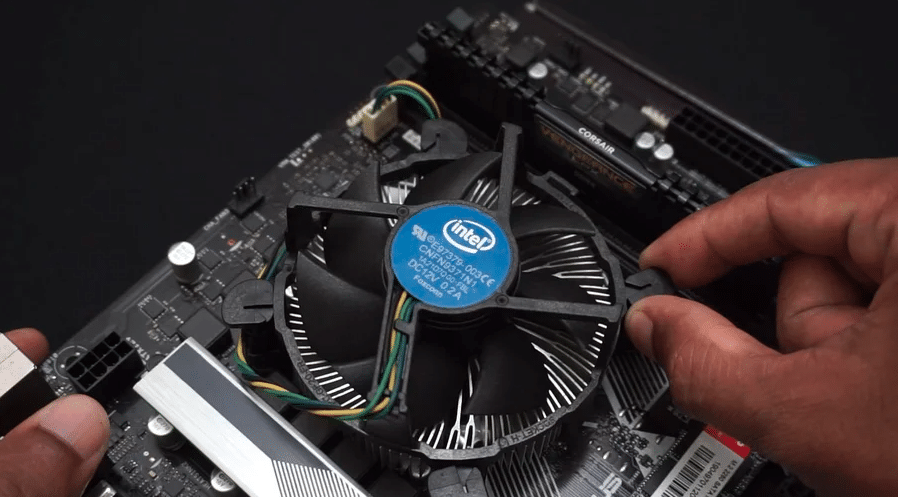
Step 1: Take Off CPU Cooler
Before you remove your CPU cooler, keep your computer switched on for a few minutes. This will decrease the hardness of thermal paste which makes it easy to wipe it off.
Now shut down the computer and open the frame of your CPU to access the cooler. Hold and rotate the push pins on the corners to loosen the heatsink. Disconnect the fan connector from the fan header and carefully pull the heatsink out.
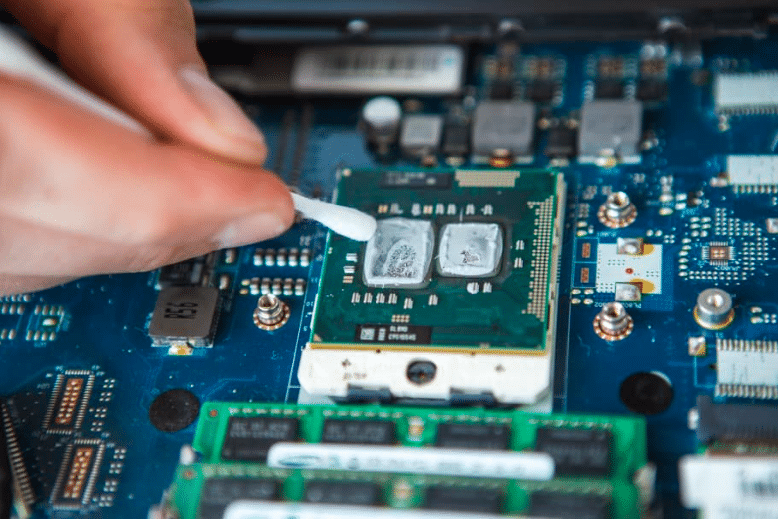
Step 2: Remove The Thermal Paste
Once you take off the heatsink from the CPU, you will notice a white or gray-colored liquid substance, well that is your thermal paste.
To clean your CPU, take a microfiber cloth that acts as a thermal paste remover and rub the surface as much as possible. Now, dip a cotton swab into the alcohol and rub it onto the surface until it is clean and free from any residue.
Also, ensure that all the edges are free from any residue. Repeat the process as much as you can until the thermal paste is no longer there.
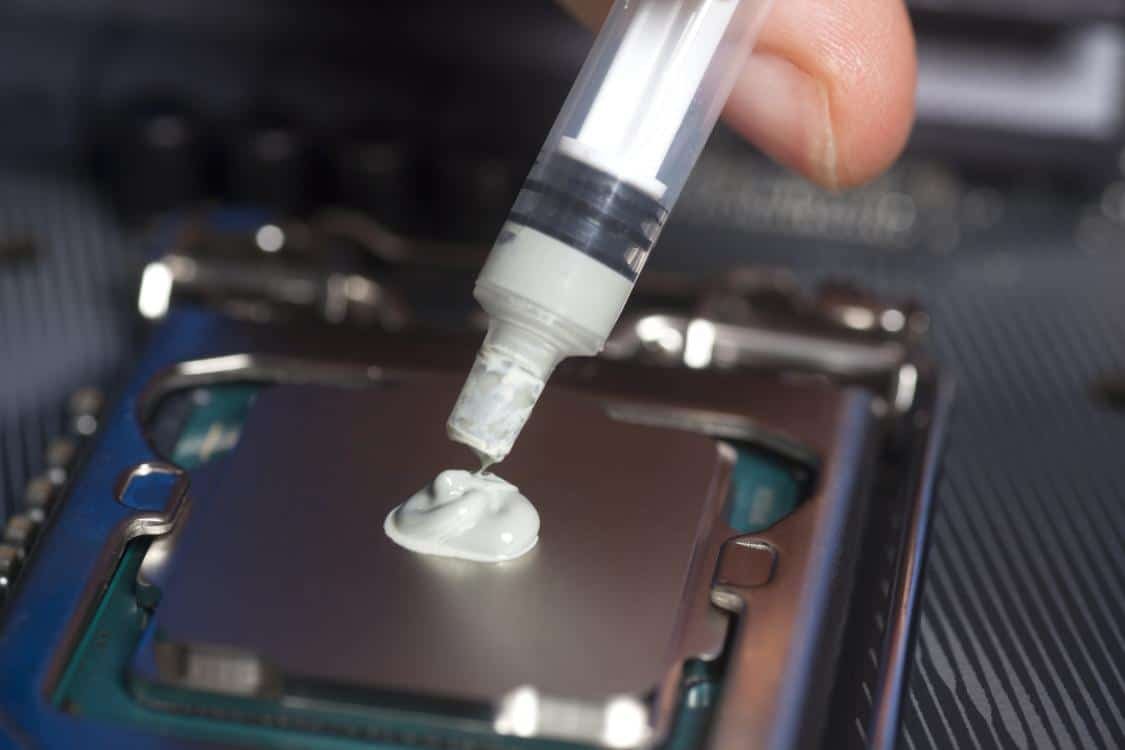
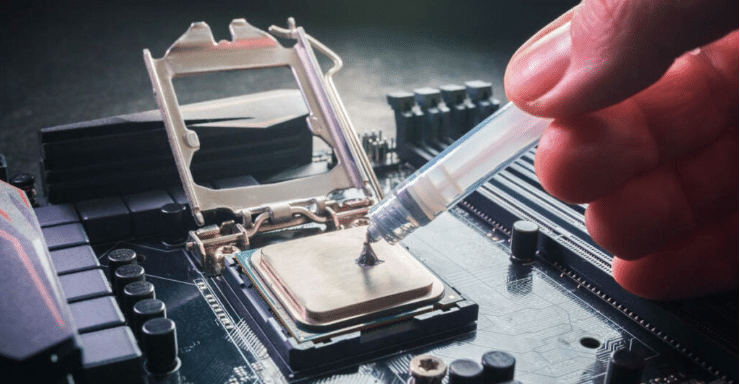
Step 3: Applying Thermal Paste:
Now apply a small drop of thermal paste in the center of your CPU and make sure it doesn’t make contact with the surroundings. After applying the thermal paste, place the heat sink back on top and tighten the screws diagonally to ensure the paste is evenly spread on the surface.
Now you can finally plug cables into your computer and turn it on. If you are still unsure of how to perform it, check out this video on YouTube for further guidance.
Do I Need To Apply Thermal Paste Regularly?
One of the frequently asked questions people ask is whether they need to apply thermal paste on a regular basis or not. You can apply the thermal paste once every two to three years. However, if your CPU heats up regularly, it’s time for maintenance and get your CPU a new thermal paste.
Last Words
Applying thermal paste is much easier than you think and is an easy process. Thus, if you enjoyed reading the article. Share it with your friends and family so they can also learn to clean and remove the thermal paste.