
To easily remove a graphics card from a motherboard:
- Unplug the computer and turn it off.
- Remove the screws holding the graphics card in place.
- Pull the graphics card from the motherboard slowly.
- To release a stuck card, gently rock it back and forth.
Remember to handle the card carefully and to ground yourself before handling any computer hardware.
Are you looking to upgrade your graphics card, but don’t know how to safely remove the old GPU from your motherboard? Removing a GPU from a motherboard can be tricky, and if done incorrectly, you could risk damaging your hardware.
Fortunately, with my step-by-step guidance, you’ll be able to do it like a pro! I’ve written this blog post to provide you with an easy-to-follow guide on how to safely and effectively remove a GPU from your motherboard. With the right steps and the right tools, you’ll be able to replace your old graphics card in no time.
So let’s get started!
A Step-by-Step Guide To Remove a Graphics Card From Motherboard
Removing GPUs from your computer’s motherboard can be a daunting task, but it doesn’t have to be. With the right knowledge and preparation, you can easily and safely remove your graphics card.
Here’s a step-by-step guide on how to properly remove a graphics card from your motherboard. So you can replace or upgrade it. With the help of this guide, you’ll be able to remove your graphics card quickly and efficiently. So let’s get started!
Step 1: Power Down Your Computer And Unplug All Cables
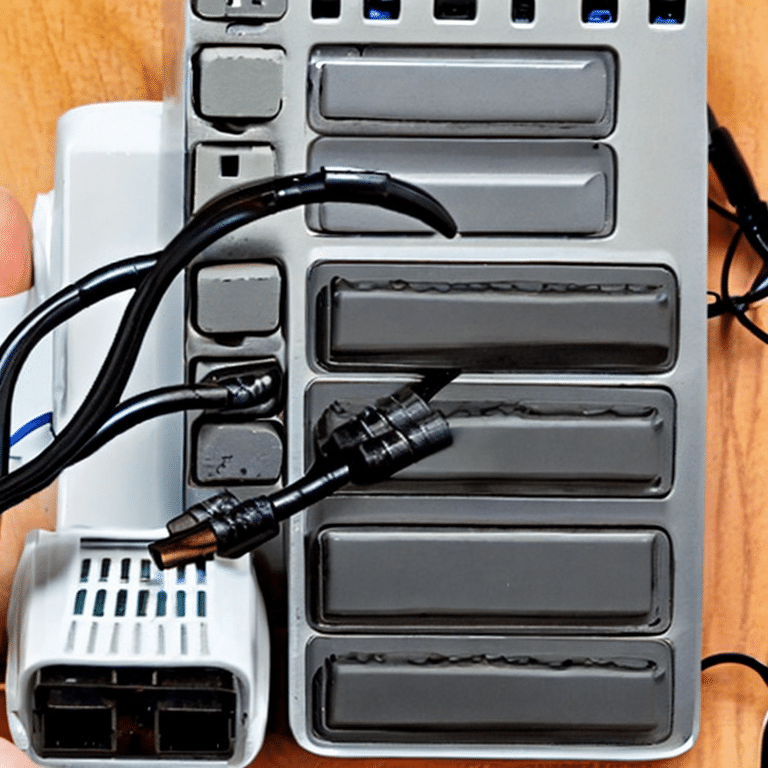
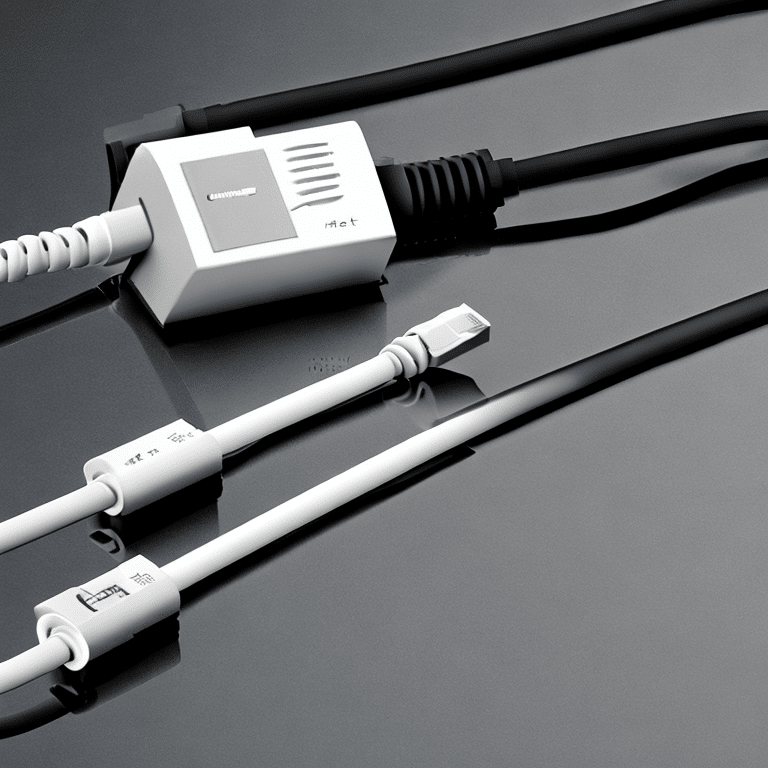
Before you try to take your GPU off your motherboard, you should turn your computer off and unplug all of its cables. To do this, find the power button on your computer and press it to shut down.
Once it has fully shut down, locate the power cord and disconnect it from the power outlet. Then, look for any other cables in pc case that may be connected to your computer and unplug them from the device they are connected to.
This includes USB cables, audio cables, and any other device that can be connected as a peripheral. This will make sure that nothing gets broken when you take the GPU off your motherboard.
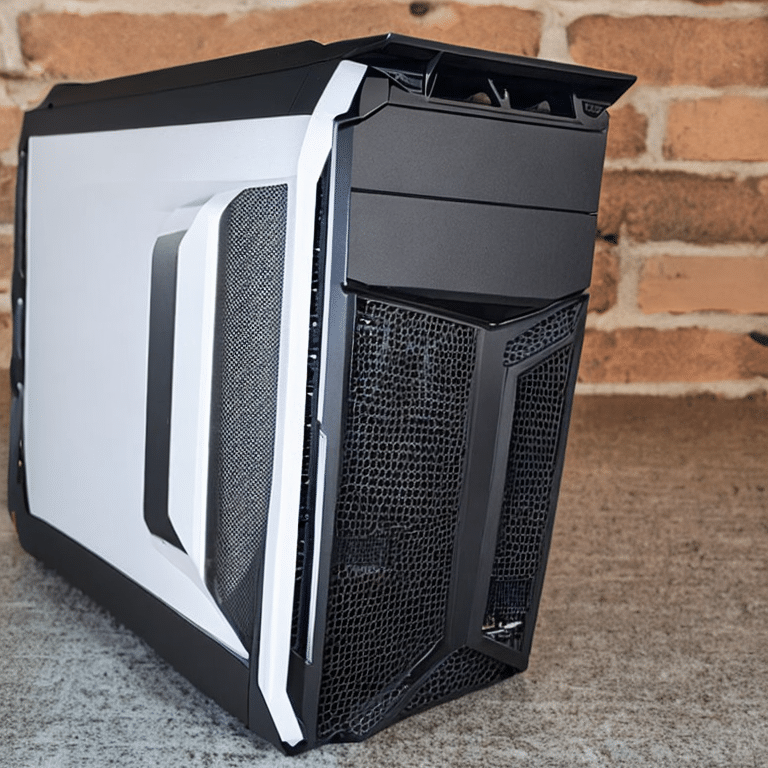
Step 2: Remove The Side Panel Of Your Pc Case
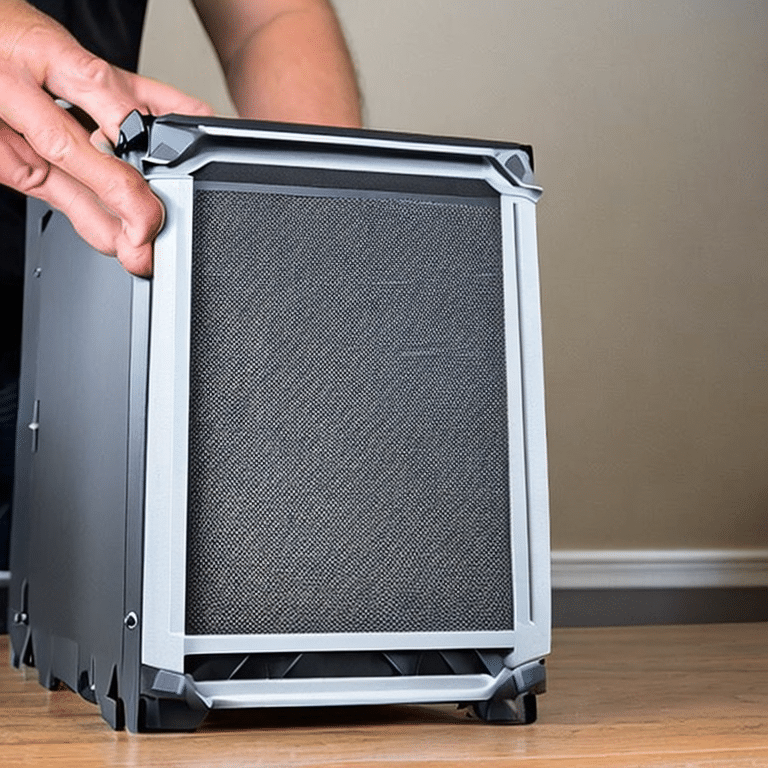
Next, find the side panel on the tower. It is usually on the left side and secured with screws. Unscrew the screws and slide off the panel. Set the panel aside, being careful not to scratch or damage it. You will now be able to see the interior components of your PC.
Step 3: Locate Your Graphics Card And Unplug Any Power Connectors
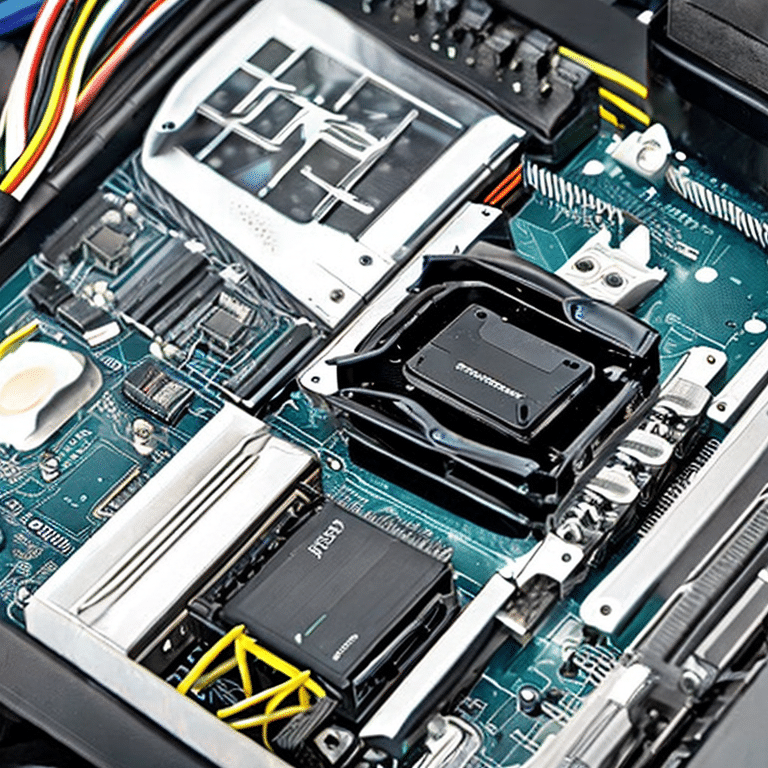
Find the graphics card and unplug any power cables before you try to take it out of the motherboard. To do this, look at the back of your pc case for the slot in which the graphics card is installed. You should also be able to identify the power connections on the back of the card that will need to be unplugged.
Depending on the type of graphics card, there may be one or two power connections. If you have an older card, it may have a single 6-pin connector. More modern cards may have both a 6-pin and 8-pin connection. Make sure to double-check the connections before you proceed to unplug them.
Step 4: Remove The Screws Holding Your Graphics Card In Place
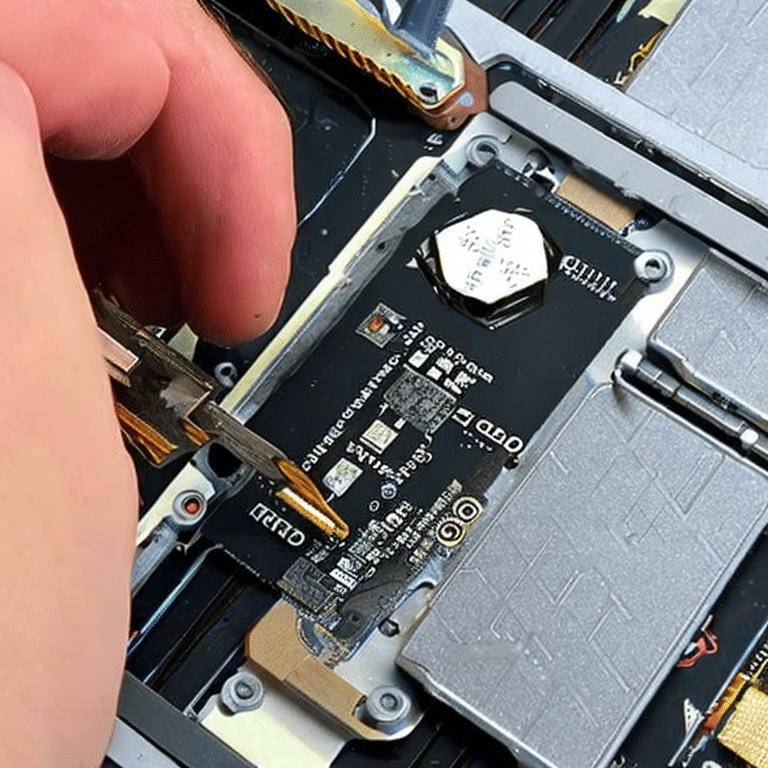
Before you remove GPU from the motherboard, make sure to unplug your power cable and check that the area is clear of any dust or dirt. Then, locate the screws securing the graphics card to the motherboard.
These screws are usually located on the back of the graphics card near the rear ports. Loosen each screw with a screwdriver until they can be removed completely. Once all the screws are removed, your graphics card should be free to be pulled out.
Be sure to store the screws somewhere safe so you can use them again when you re-install the new graphics card.
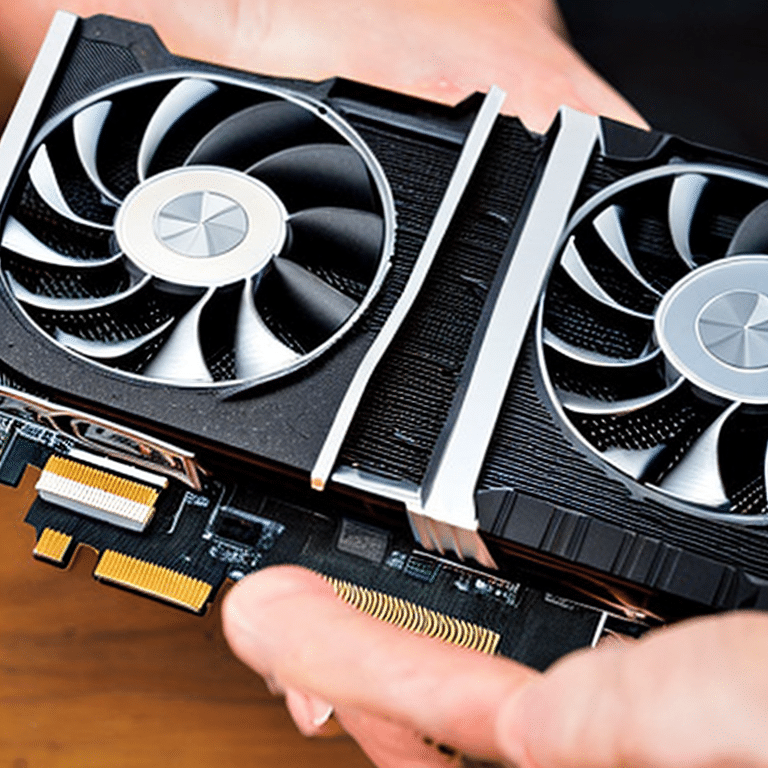
Step 4: Gently Remove Your Graphics Card From The PCIe Slot
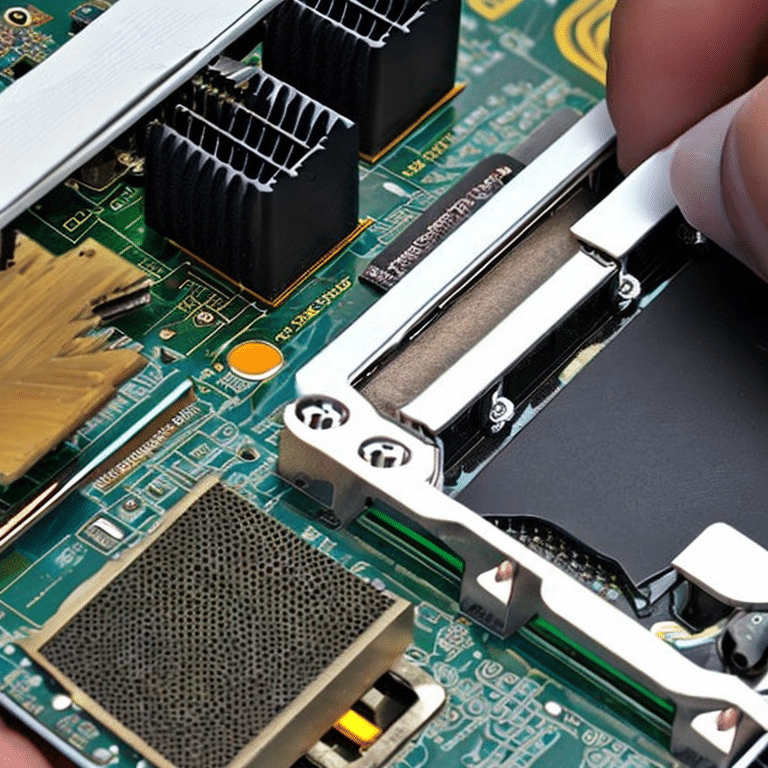
To remove your GPU from PCI-e slot, make sure your hands are free of dust and debris to prevent damage to your components. Find the two ends of the card that are connected to the motherboard. Gently push down on the end of the card with one hand while holding the other end with your other hand.
As you continue pushing down, wiggle the card gently from side to side until it starts to come loose. Once it is released, slowly slide the card out of its slot. If the card is stuck, you can use a flathead screwdriver to gently loosen it.
Be careful not to bend any pins on the back of the card or damage any of the components. Once the graphics card from your pc is fully removed from its slot, you can now safely proceed with your next step.
Step 5: Replace The Side Panel On Your Computer Case
Once you’ve removed your graphics card, you’ll want to replace the side panel of your computer case. To do this, line up the side panel with the opening in the case and insert it gently. You may have to wiggle it a bit to get it in place.
Secure the side panel with the screws that were removed earlier. Be sure to tighten them properly to ensure the panel is secure. You can now power on your computer and make sure everything is working correctly.
Congratulations! You’ve successfully removed your onboard graphics card from the case!
Step 6: Plug in all cables and power on your computer
To finish up the video card removal process and install a new GPU, be sure to re-connect all cables and power on your computer.
First, check the back of your computer for any additional power cables and reconnect them. Make sure all screws are tightened correctly and the graphics card is securely in place. If your computer has a power supply switch, turn it on as well.
Finally, plug in the power cable and press the power button to start your computer. If all went well, your computer should boot up with no issue.
You can now access the computer’s BIOS settings or run benchmarking software to make sure the graphics card is working properly.
Step 7: Replace Your Graphics Card
Once you have disconnected all cables from your GPU and removed the card from its slot, it is time to replace it. Depending on the model of your GPU, there may be different instructions for replacing the card.
Once the current graphics card is out, you can begin to install the new graphics card inside your pc.
- Insert the new card into the same PCI-E slot that was used for the old card.
- Make sure to securely plug in any power connectors to the card as well.
- Then, use your screwdriver to secure the card in place with screws.
- Once the card is in place, plug any remaining cables back into your GPU and close up your PC case.
By following these steps, you now know how to remove GPU from your PC and upgrade to a newer model. Before you try to remove or replace a GPU, you should talk to a pro if you aren’t sure about any of the steps or need more information.
Read More:
- How To Add MSI Afterburner To Startup Windows 10?
- How to Clean Your GPU? Simple Steps to Clean a Graphic Card
- How to Install Graphics Card to your laptop? 2 Ways to Install GPU
Conclusion – A Quick Recap How to Remove a GPU From Motherboards
Removing graphics card away from the motherboard can be a tricky task, especially if you don’t know how to do it.
By following the steps outlined in this guide, you should now know how to remove a GPU from the motherboard, unplug all cables connected to it, remove the video card from its slot, replace the card, and re-connect all cables back.
Make sure you remember to power down your computer before removing the side panel of your PC case and pulling the GPU out. Now that you know how to remove a graphics card from your PC, you can upgrade or replace your GPUs or switch to onboard graphics.