
To apply thermal paste to a CPU, first clean the surface of the CPU with isopropyl alcohol and a lint-free cloth. Then, apply a small amount of thermal paste to the center of the CPU and use a spreader or a plastic bag to evenly distribute it. Finally, attach the CPU cooler and secure it in place.
Keeping your CPU at the right temperature is important if you want your computer to work well and reliably. One of the best ways to do this is to correctly apply thermal paste to the CPU.
CPU thermal paste is a compound that acts as a heat conductor between the CPU and the heat sink, helping to dissipate heat away from the processor. In this helpful blog post, I’ll show you how to put thermal paste on your CPU in the right way.
Let’s dive into the topic.
Step-by-Step Guide: How to Apply Thermal Paste on the CPU?

Putting thermal paste on the CPU is an important step in building a PC because it helps your CPU or GPU at the right temperature. The thermal paste ensures better heat transfer between the CPU and the heatsink. It is important to use the right amount of thermal paste for heat transfer to work well and for the best cooling performance.
In this section, I will show you how to put thermal paste on your CPU step by step.
What You Will Need?
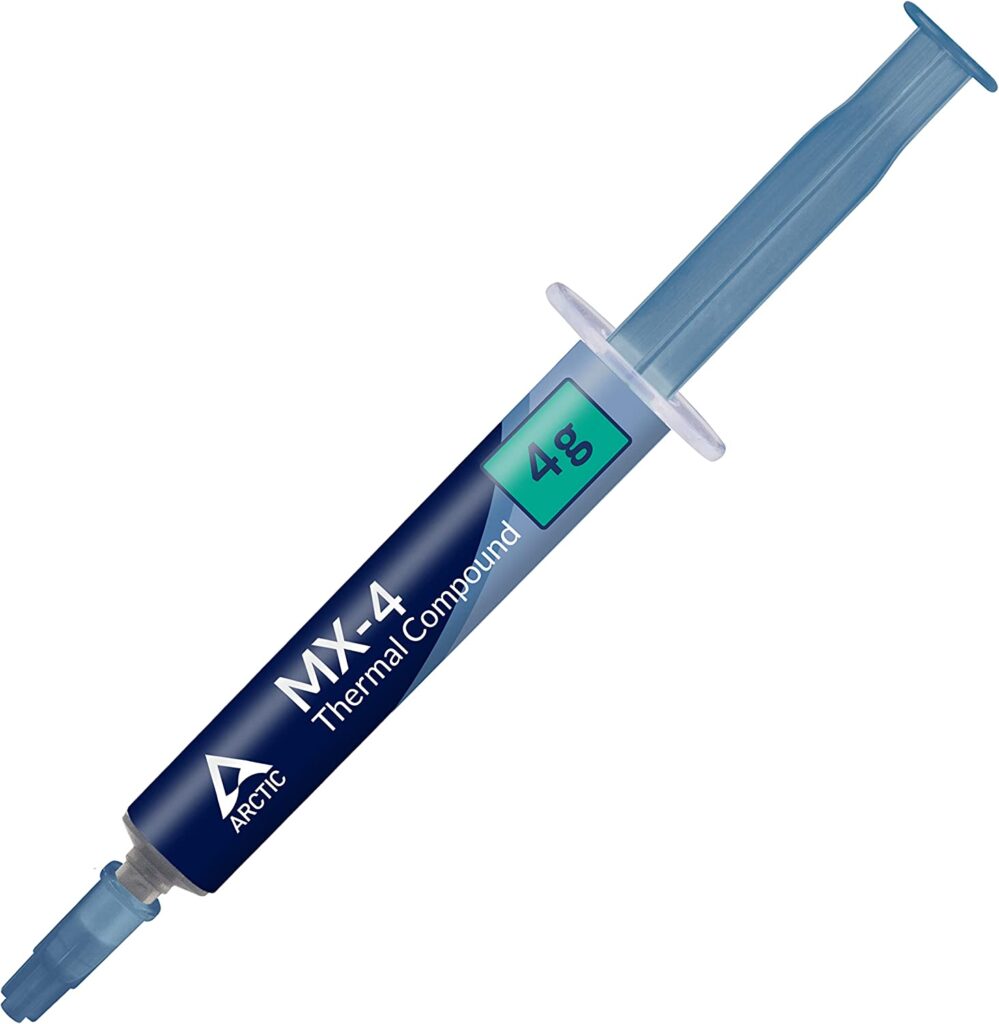
Before you start, you will need isopropyl alcohol, a microfiber cloth, and a quality thermal paste such as Arctic Silver 5 or Gelid GC Extreme. Make sure that you have your motherboard, CPU cooler, and thermal pads at hand as well. Once all the materials are ready, you can begin the application process.
Here’s where the process starts.
Step 1: Clean The Surface Of The CPU And Heatsink
Before applying thermal paste to the CPU, it is important to clean the surfaces of both the CPU and the heatsink.
- For the CPU, use a microfiber cloth with a small amount of isopropyl alcohol to remove any dirt or dust from its surface and heat spreader.
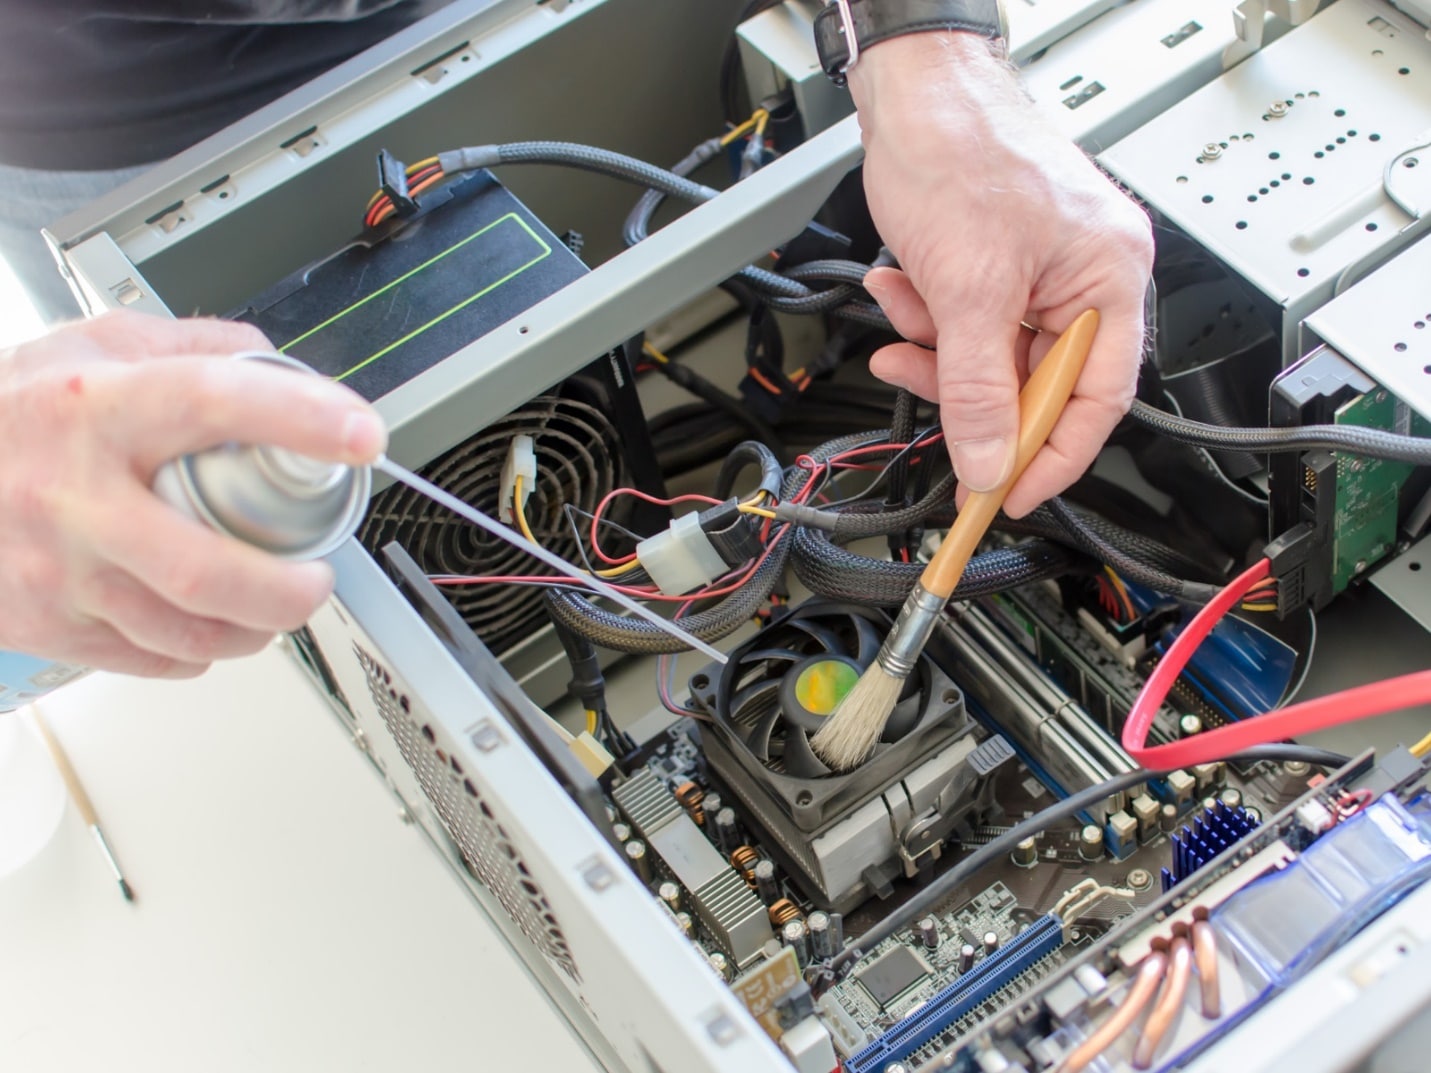
- For the heat sink, you can use compressed air or cotton swabs to ensure that any dust or debris is removed from its edges.
It is essential that both surfaces are perfectly clean before applying thermal paste, as this will ensure optimal heat transfer and optimal cooling performance from your CPU cooler.
Step 2: Apply A Small Amount Of Thermal Paste To The Center Of The CPU
Use a small dab of thermal conductive paste, about the size of a grain of rice. Make sure to spread it evenly across the surface of your CPU so that it covers the entire heat spreader. When applying thermal paste, less is more!
Using too much paste will reduce the amount of heat transfer, which can increase the temperature of the CPU. Use a microfiber cloth to clean any excess thermal paste off the edges of the CPU.
If you are replacing a thermal pad with thermal paste, use isopropyl alcohol and a cotton swab to clean the CPU cooler and heatsink before applying the thermal paste. This will ensure proper heat transfer and thermal conductivity. Be sure to spread the thermal paste evenly on the surface of your CPU before installing the heat sink.
Read More:
Step 3: Spread The Thermal Paste Evenly Over The Surface Of The CPU
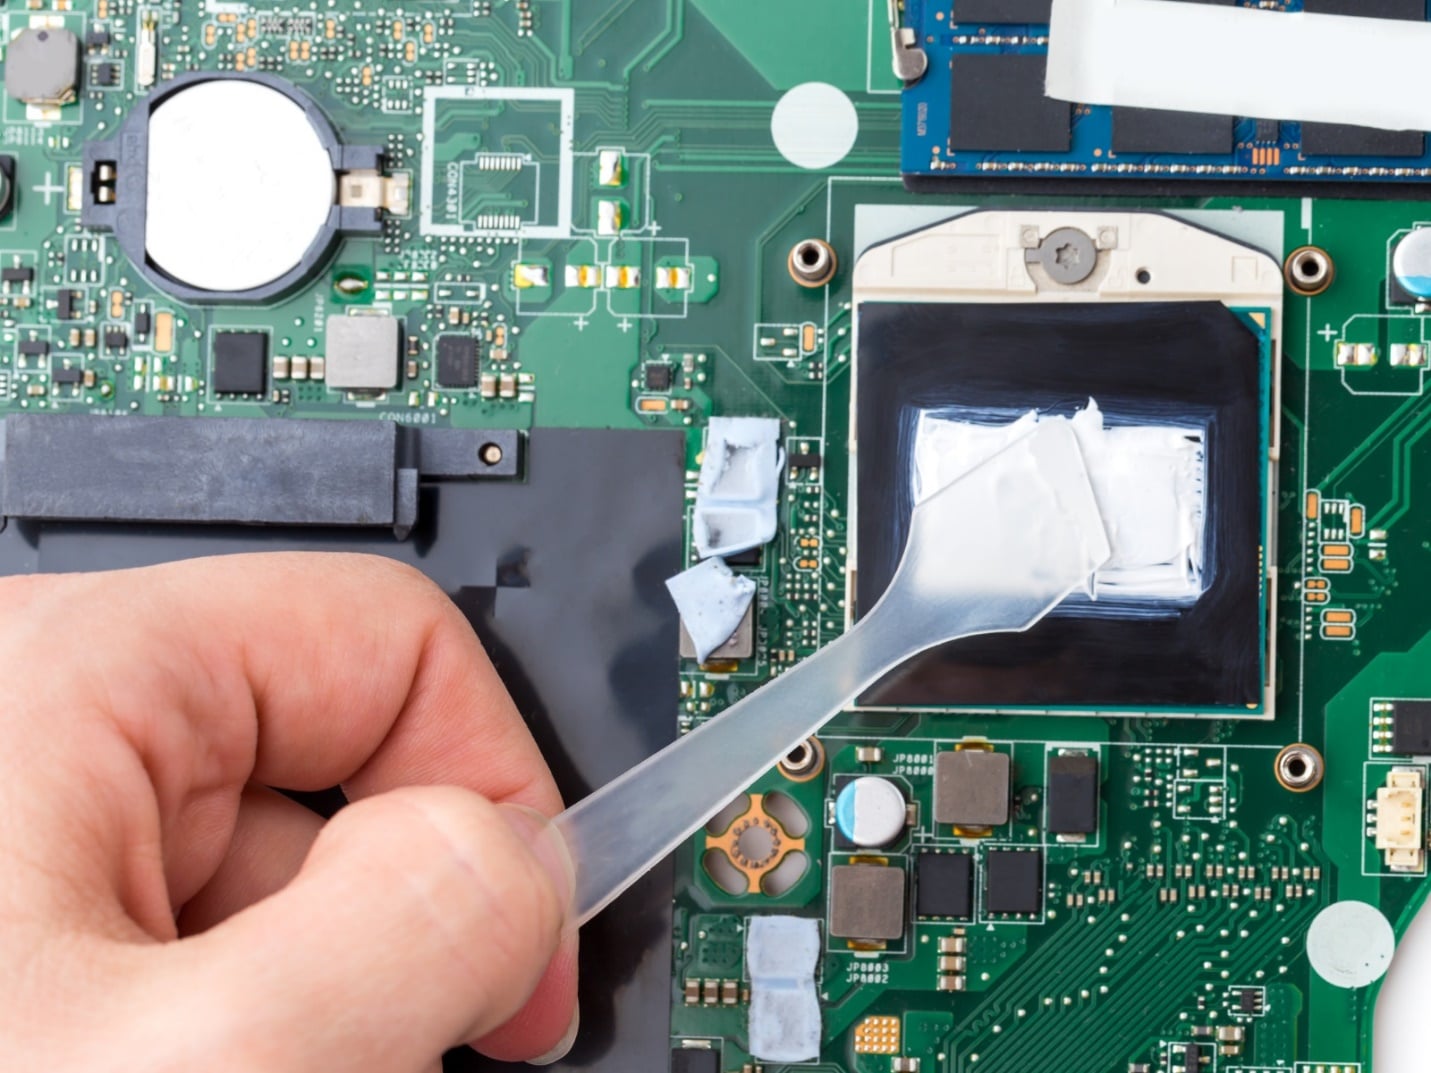
Start by applying a small amount of thermal paste onto the center of the CPU. Using your finger, a credit card, or a spreader tool, spread the paste in an even layer around the entire surface.
Make sure to spread the paste all the way to the edges of the CPU. This ensures that heat will be efficiently transferred to the heatsink or CPU cooler. Be careful not to use too much thermal paste, as this can affect heat transfer and cause the temperature to rise.
When you are done, clean up any excess thermal paste with a microfiber cloth and isopropyl alcohol. This will help make sure that heat is transferred properly and prevent any problems from happening because the thermal paste wasn’t put on right.
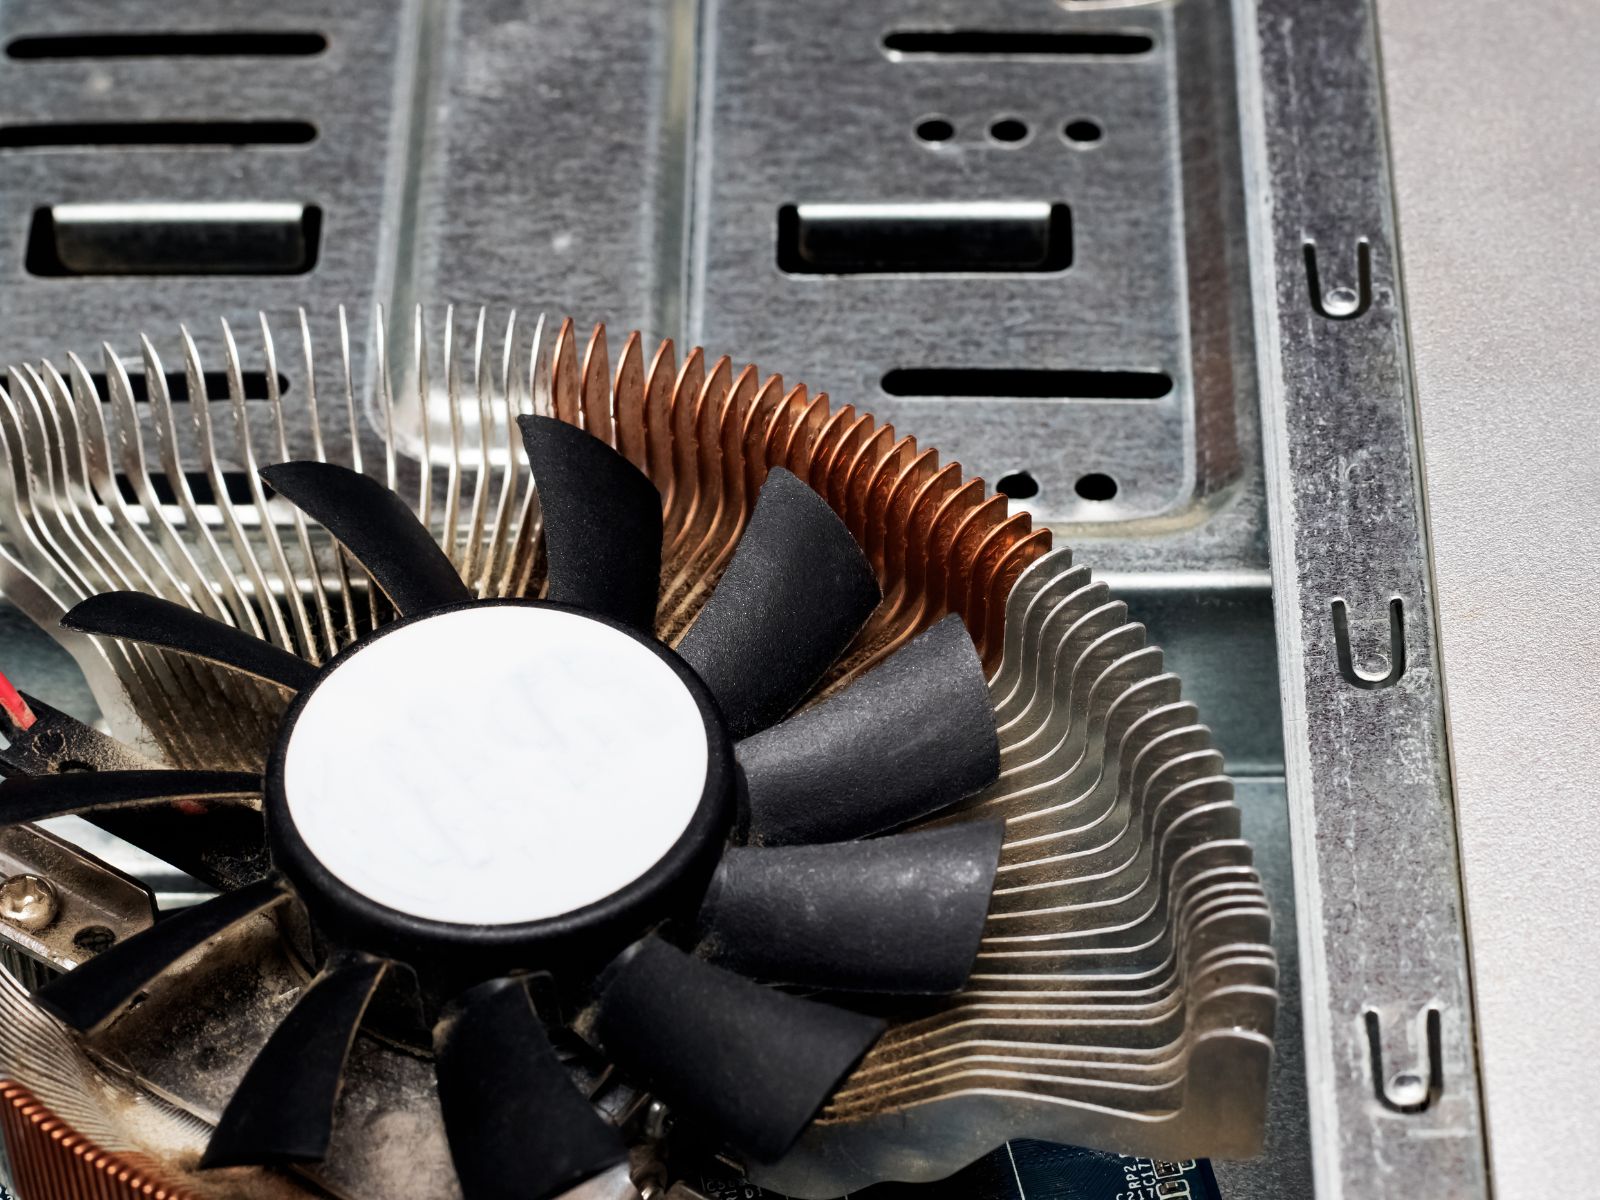
Step 4: Install The Heatsink Onto The CPU
To properly install the heatsink onto the CPU, ensure that you have applied the right amount of thermal paste to the surface of your CPU. Once you have spread the paste evenly and removed any excess, place the heat sink over the CPU and secure it in place.
Make sure that the edges of the CPU and the heat sink are properly aligned and that no thermal pads are blocking the contact between the two components. This is important for proper heat transfer from the CPU to the cooler.
To get the best heat transfer, spread the thermal paste on the surface of your CPU gently with a microfiber cloth. The amount of paste should be comparable to a grain of rice. Once done, make sure that there is no paste on the edges of the CPU or heat spreader. Finally, use isopropyl alcohol to clean off any residue on the surface, and you’re all set!
Step 5: Connect The Fan To The Heatsink
Once the heatsink is firmly in place, you can now attach the CPU cooler. This is usually done by screwing the fan to the heat sink or using thermal pads. Be sure to use the appropriate mounting hardware and make sure the fan is firmly in place.
When attaching the fan, be careful not to dislodge any of the thermal paste that you have applied to the surface of your CPU. It is important to spread the thermal paste evenly over the heat spreader so that all of the CPU’s edges are covered.
Read More:
- How To Install Liquid Cooling On Your GPU For Maximum Performance?
- How to Clean Your GPU? Simple Steps to Clean a Graphic Card
When Do You Need to Apply Thermal Paste?
To understand when you need to apply the paste, it’s important to know what thermal paste is and how it works. Thermal paste, also known as thermal compound or thermal grease, is a type of liquid or paste material with excellent thermal conductivity that helps create a better connection between the CPU and its cooler.
This allows for better heat transfer from the CPU to the cooler, helping to keep your CPU running at its optimal temperature.
You will need to apply thermal paste every time you replace a CPU or CPU cooler, or if you are building a new computer from scratch. Before applying thermal paste, it’s important to clean both the CPU and cooler with isopropyl alcohol, as any dust particles on the surface will affect the performance of the thermal paste.

It’s important to note that not all CPUs require thermal paste. Some are equipped with a heat spreader instead. If yours does, then you should use thermal pads instead of thermal paste. You should also make sure to check for any thermal paste application instructions provided by your CPU or cooler manufacturer before applying thermal paste to your CPU.
Once you have applied the thermal paste correctly, install your heatsink, connect the fan, and turn on your computer. Using thermal paste in the right way will help make sure that your computer runs at the best temperature.
Related Reading:
How Long Does Thermal Paste Last On CPU?
The lifespan of thermal paste depends on the type and amount applied.
Generally, a single application of thermal paste should last up to two years if a CPU cooler is used correctly.
If you have an older processor, reapplying a thin layer of thermal paste can help improve heat transfer and keep CPU temperatures low. To do this, you need to remove the old thermal paste using isopropyl alcohol and a microfiber cloth and spread a grain-sized amount of new thermal paste onto the surface of your CPU.
Make sure to evenly spread the thermal paste over the entire surface and not just the edges of the CPU. You should also consider using thermal pads or a heat spreader instead of thermal paste for better heat transfer.